> ## Documentation Index
> Fetch the complete documentation index at: https://docs.kelviq.com/llms.txt
> Use this file to discover all available pages before exploring further.
# Digital Downloads
> Enable customers to download digital files after purchase
Digital Downloads allow you to attach downloadable files to your plans. Customers who purchase your plan can access these files after completing their purchase.
## Overview
Use Digital Downloads to deliver:
* **Course content** – PDFs, videos, or supplementary materials
* **E-books** – Digital books in PDF, EPUB, or other formats
* **Software** – Installers, license files, or application packages
* **Templates** – Design files, spreadsheets, or document templates
* **Any other digital content** your customers need
## Accessing Digital Downloads
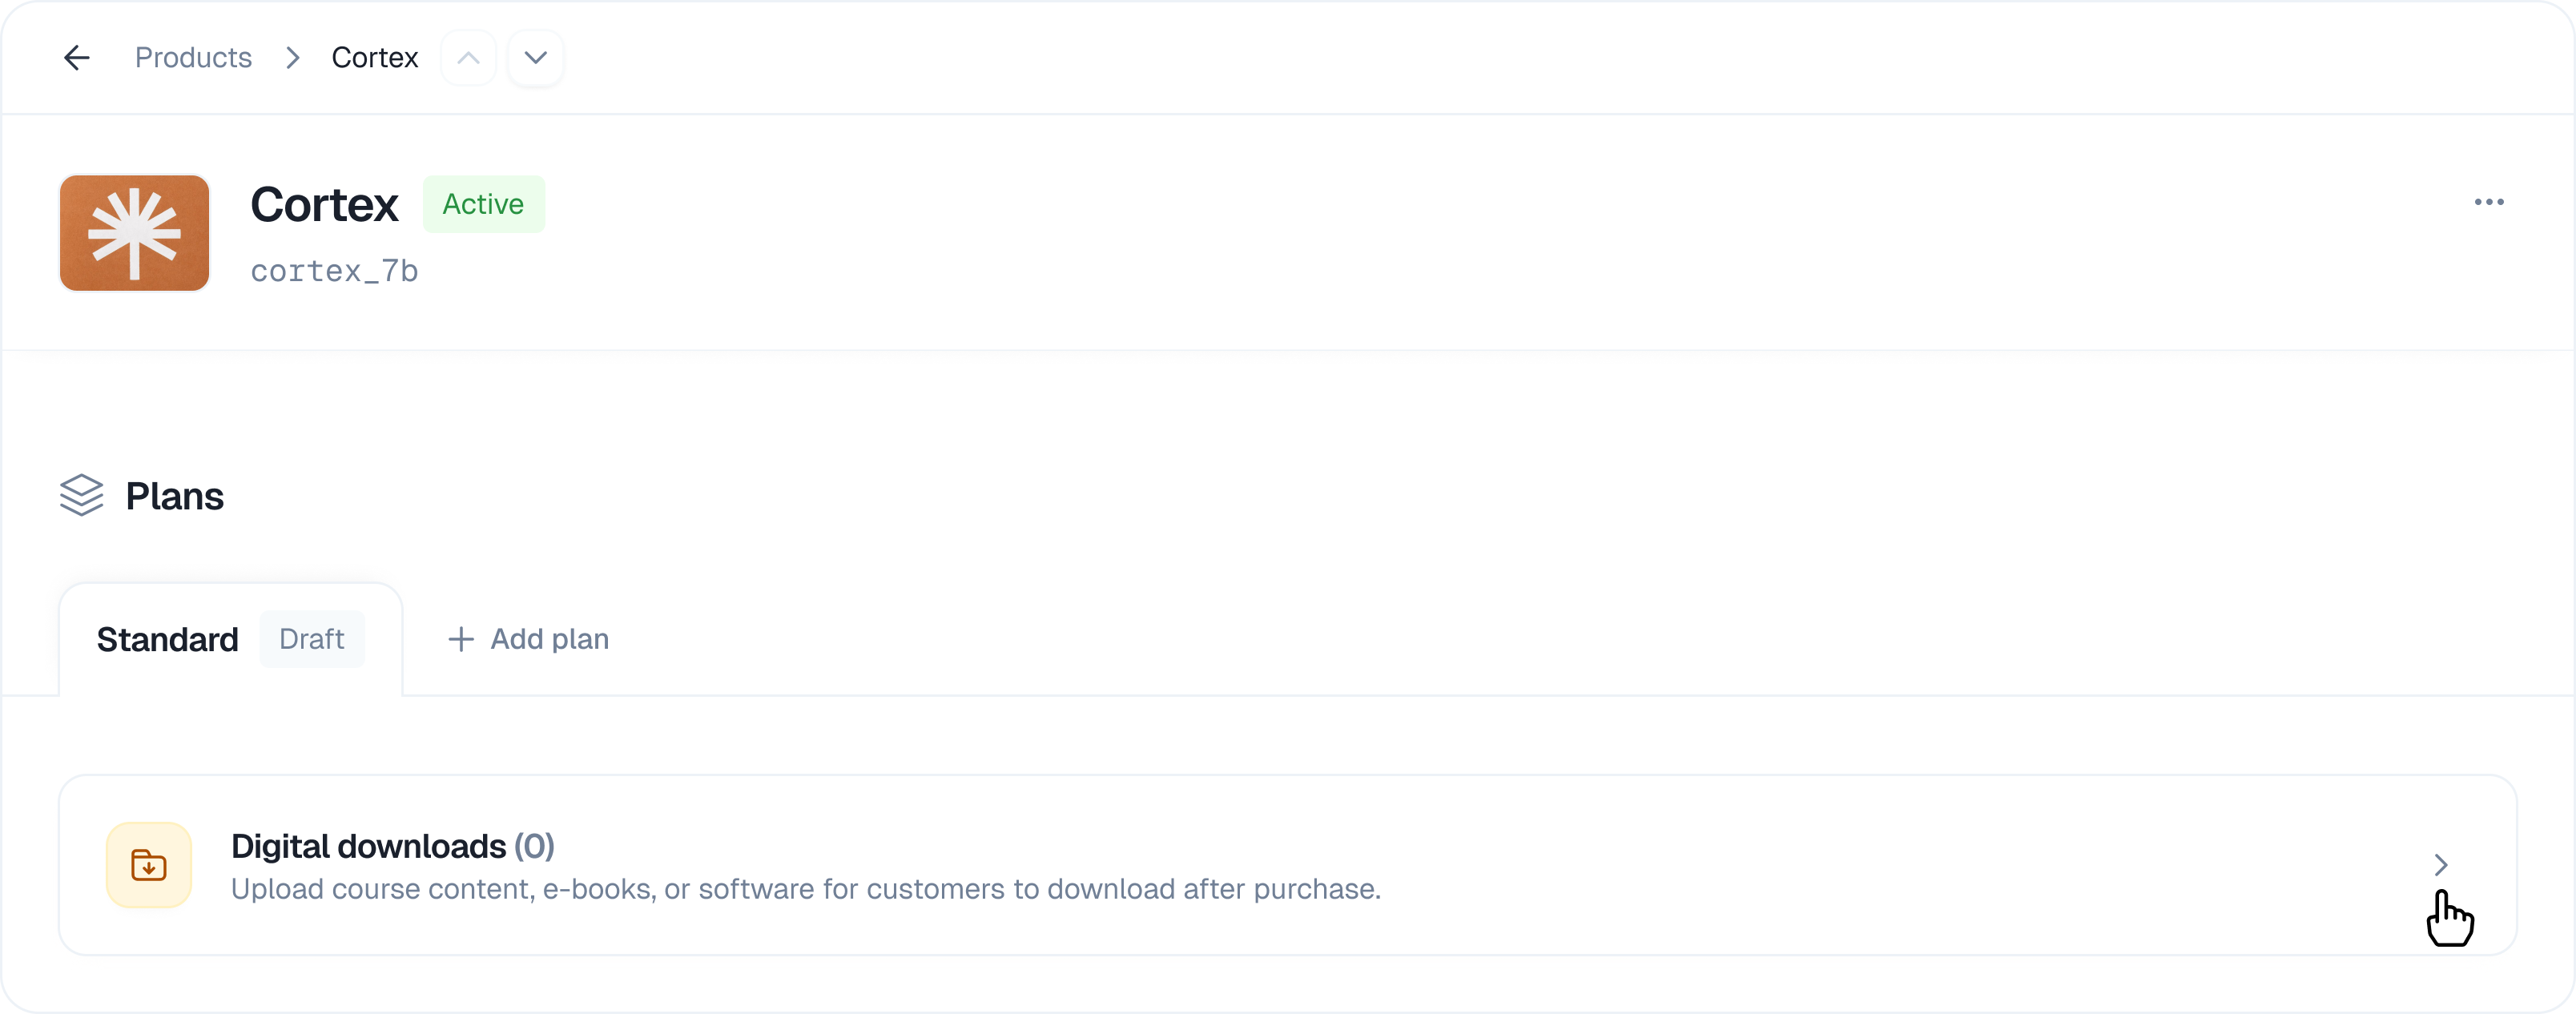 1. Navigate to **Products** in the sidebar
2. Select the product containing your plan
3. Click on the plan you want to edit
4. Scroll down to the **Digital downloads** section
5. Click the expand arrow to open the section
## Uploading Files
### How to Upload
1. Navigate to **Products** in the sidebar
2. Select the product containing your plan
3. Click on the plan you want to edit
4. Scroll down to the **Digital downloads** section
5. Click the expand arrow to open the section
## Uploading Files
### How to Upload
 1. Open the **Digital downloads** section
2. Click anywhere in the upload area, or drag and drop files directly
3. Select one or more files from your computer
4. Files will begin uploading automatically
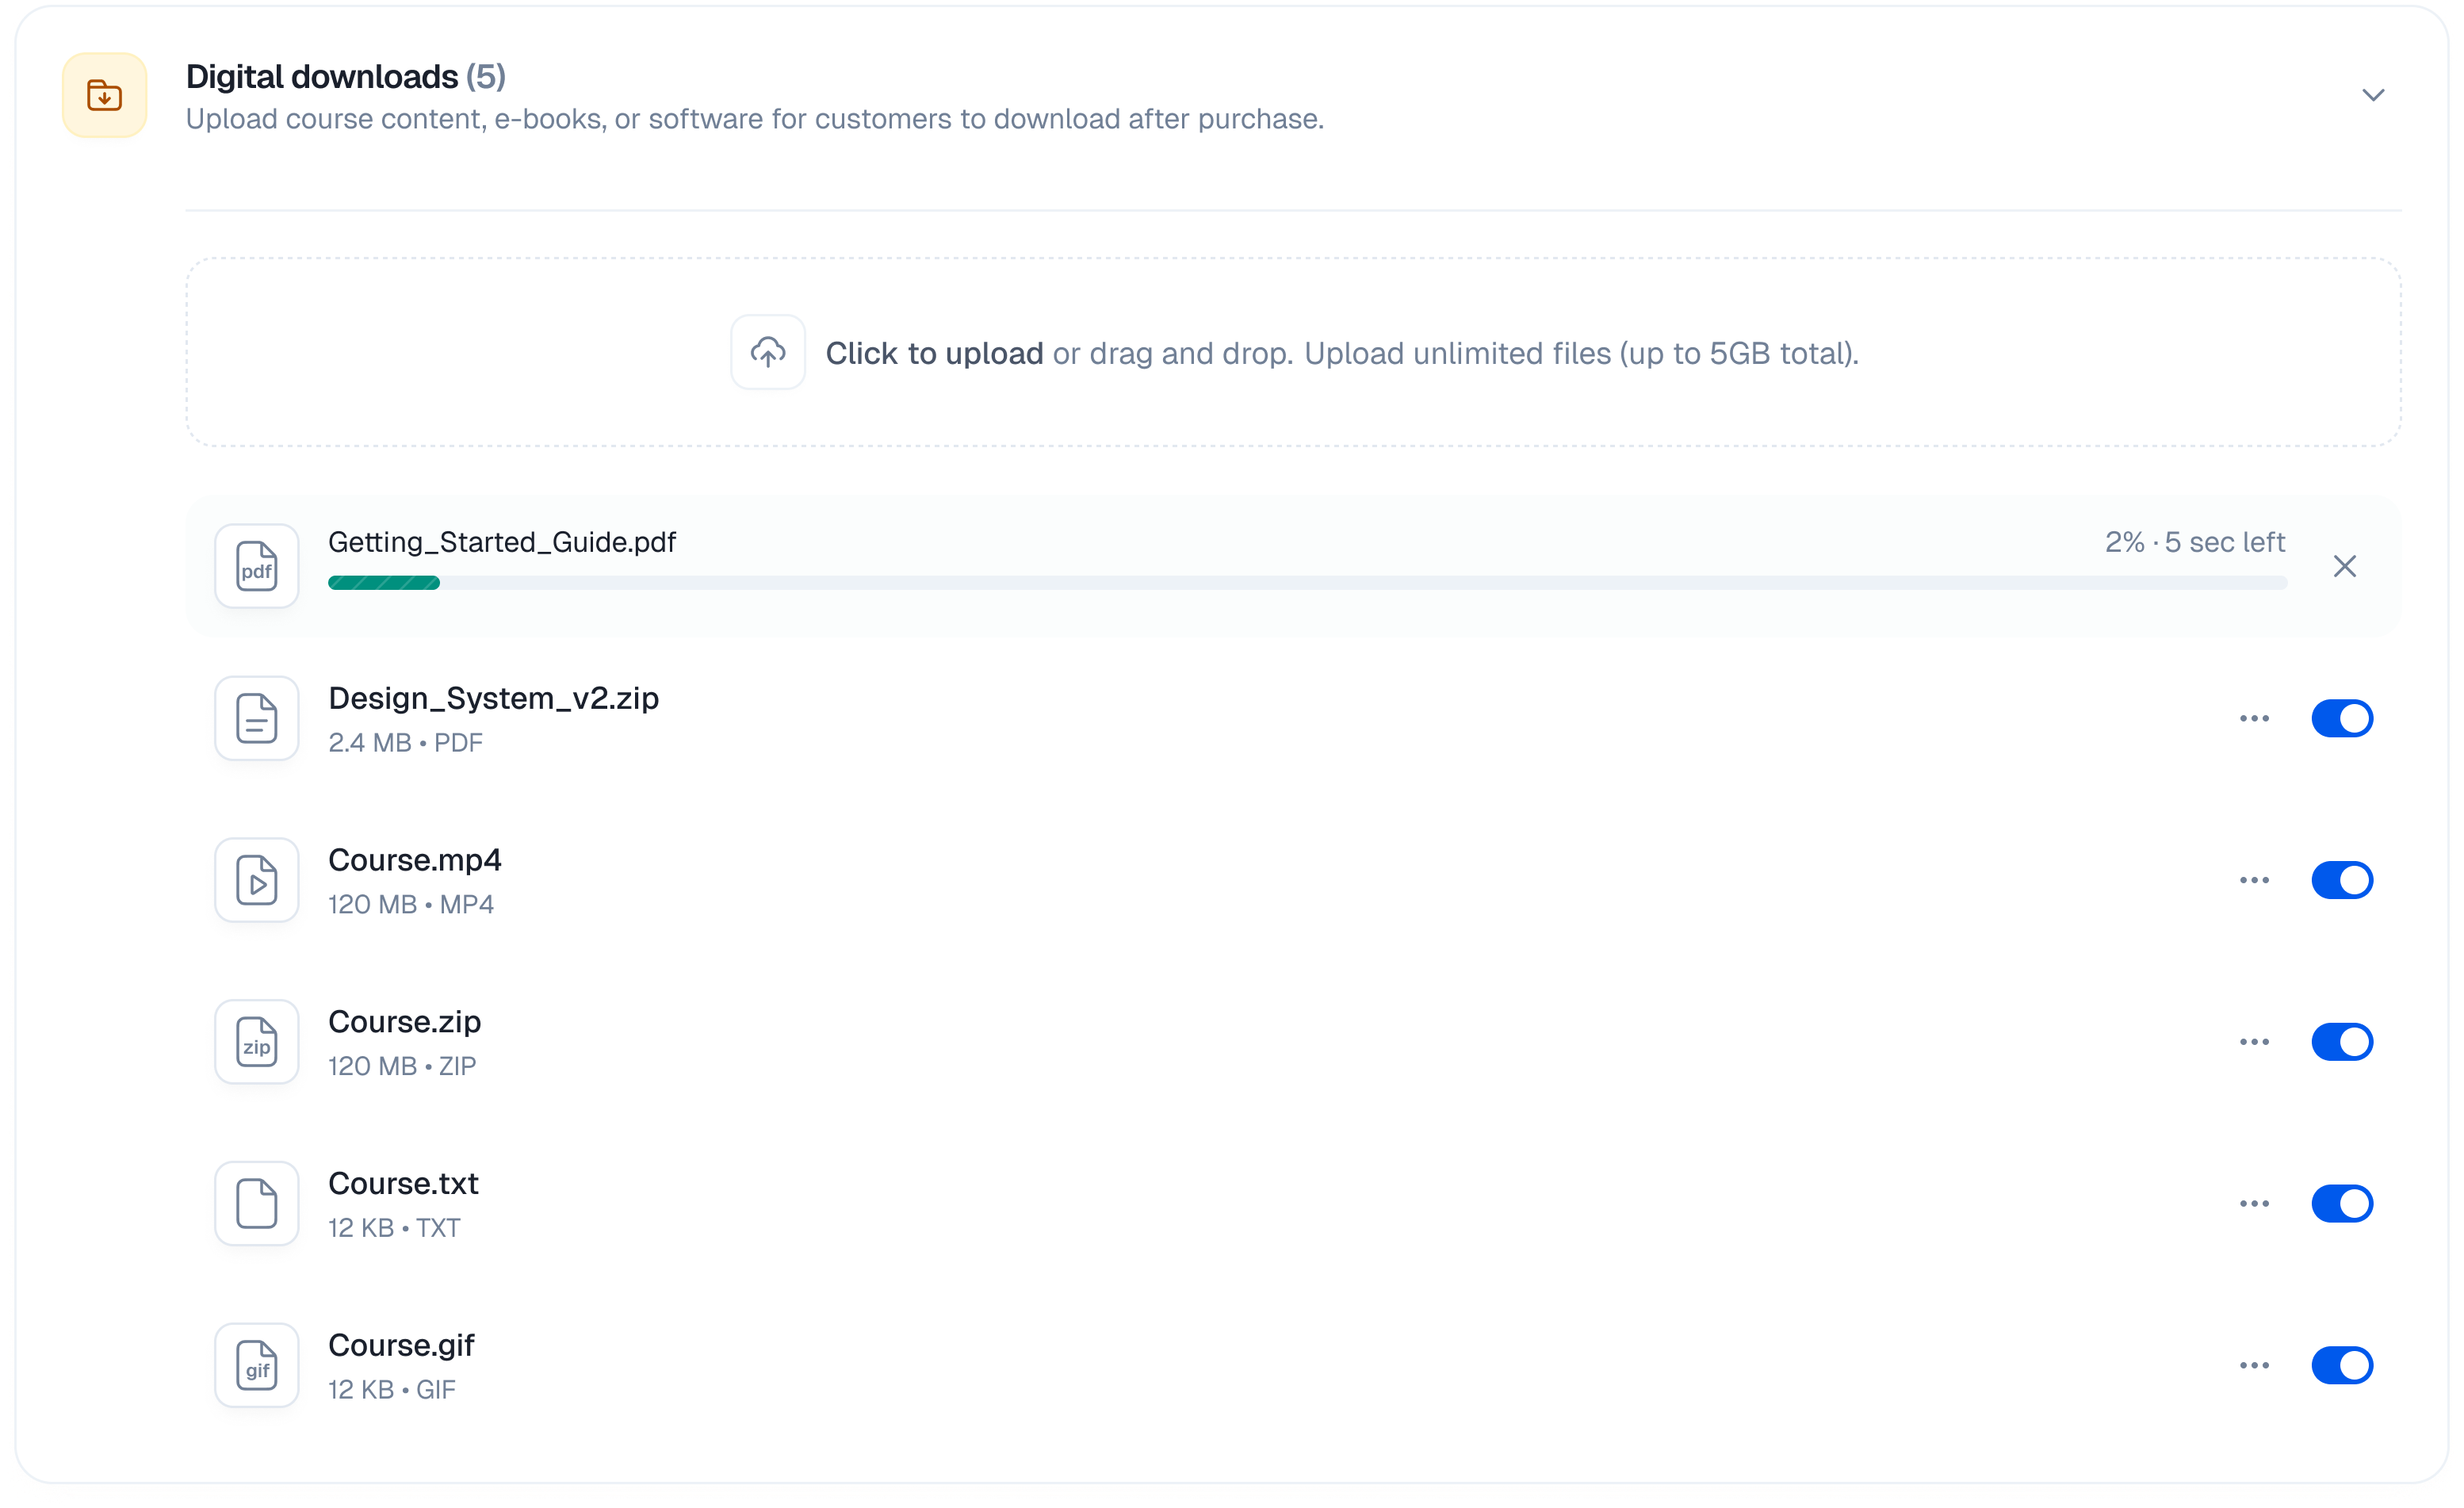
5. Once complete, files appear in the **Uploads** list
### Upload Progress
1. Open the **Digital downloads** section
2. Click anywhere in the upload area, or drag and drop files directly
3. Select one or more files from your computer
4. Files will begin uploading automatically
5. Once complete, files appear in the **Uploads** list
### Upload Progress
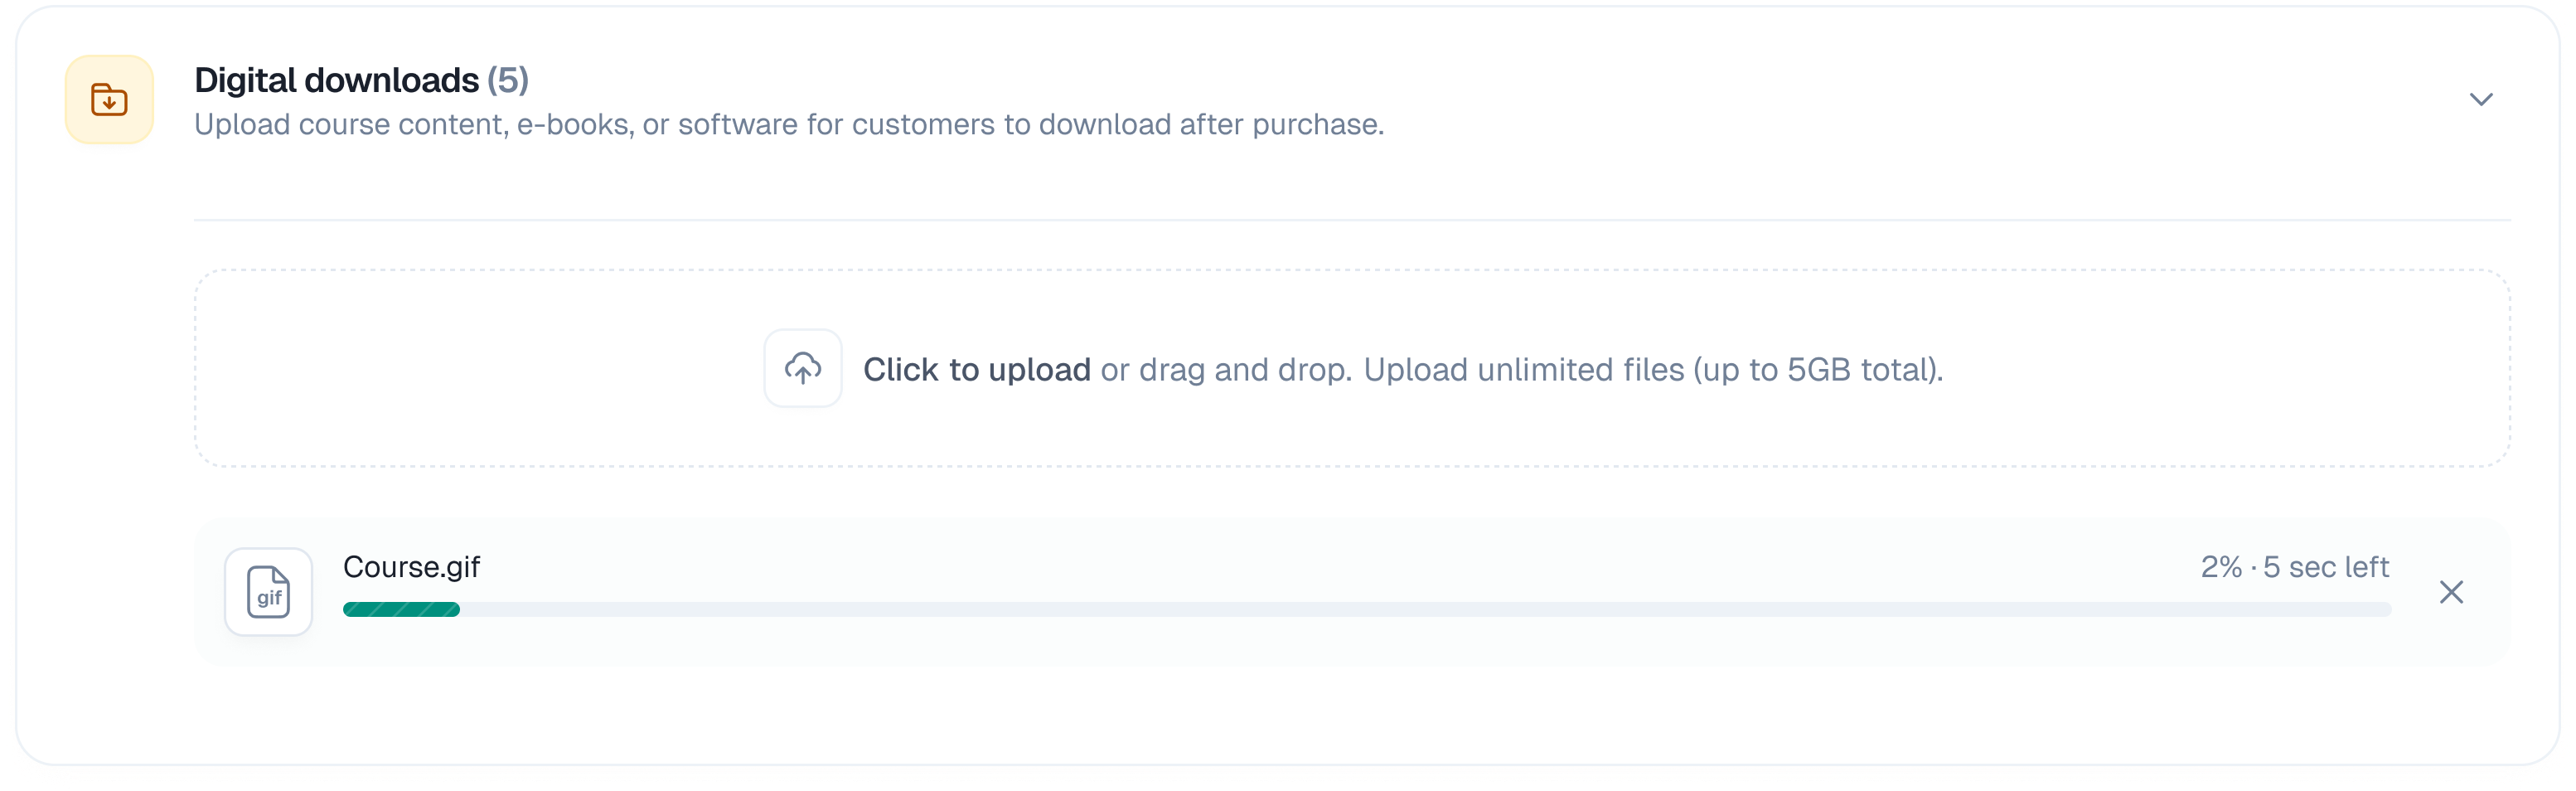
 While uploading, you'll see:
* File name and size
* Progress bar showing upload percentage
* Status indicator (uploading, complete, or error)
### File Size Limits
* **Maximum file size**: 5 GB per file
* **Multiple files**: You can upload multiple files at once
### Supported File Types
All file types are supported, including:
* Documents: PDF, DOCX, TXT, etc.
* Images: PNG, JPG, GIF, SVG, etc.
* Videos: MP4, MOV, AVI, etc.
* Audio: MP3, WAV, FLAC, etc.
* Archives: ZIP, RAR, 7Z, etc.
* Software: EXE, DMG, APP, etc.
* Any other file format
## Managing Files
Each uploaded file has a toggle switch and a menu button (**⋯**) with additional options.
### Enable/Disable Files
You can temporarily hide files from customers without deleting them:
While uploading, you'll see:
* File name and size
* Progress bar showing upload percentage
* Status indicator (uploading, complete, or error)
### File Size Limits
* **Maximum file size**: 5 GB per file
* **Multiple files**: You can upload multiple files at once
### Supported File Types
All file types are supported, including:
* Documents: PDF, DOCX, TXT, etc.
* Images: PNG, JPG, GIF, SVG, etc.
* Videos: MP4, MOV, AVI, etc.
* Audio: MP3, WAV, FLAC, etc.
* Archives: ZIP, RAR, 7Z, etc.
* Software: EXE, DMG, APP, etc.
* Any other file format
## Managing Files
Each uploaded file has a toggle switch and a menu button (**⋯**) with additional options.
### Enable/Disable Files
You can temporarily hide files from customers without deleting them:
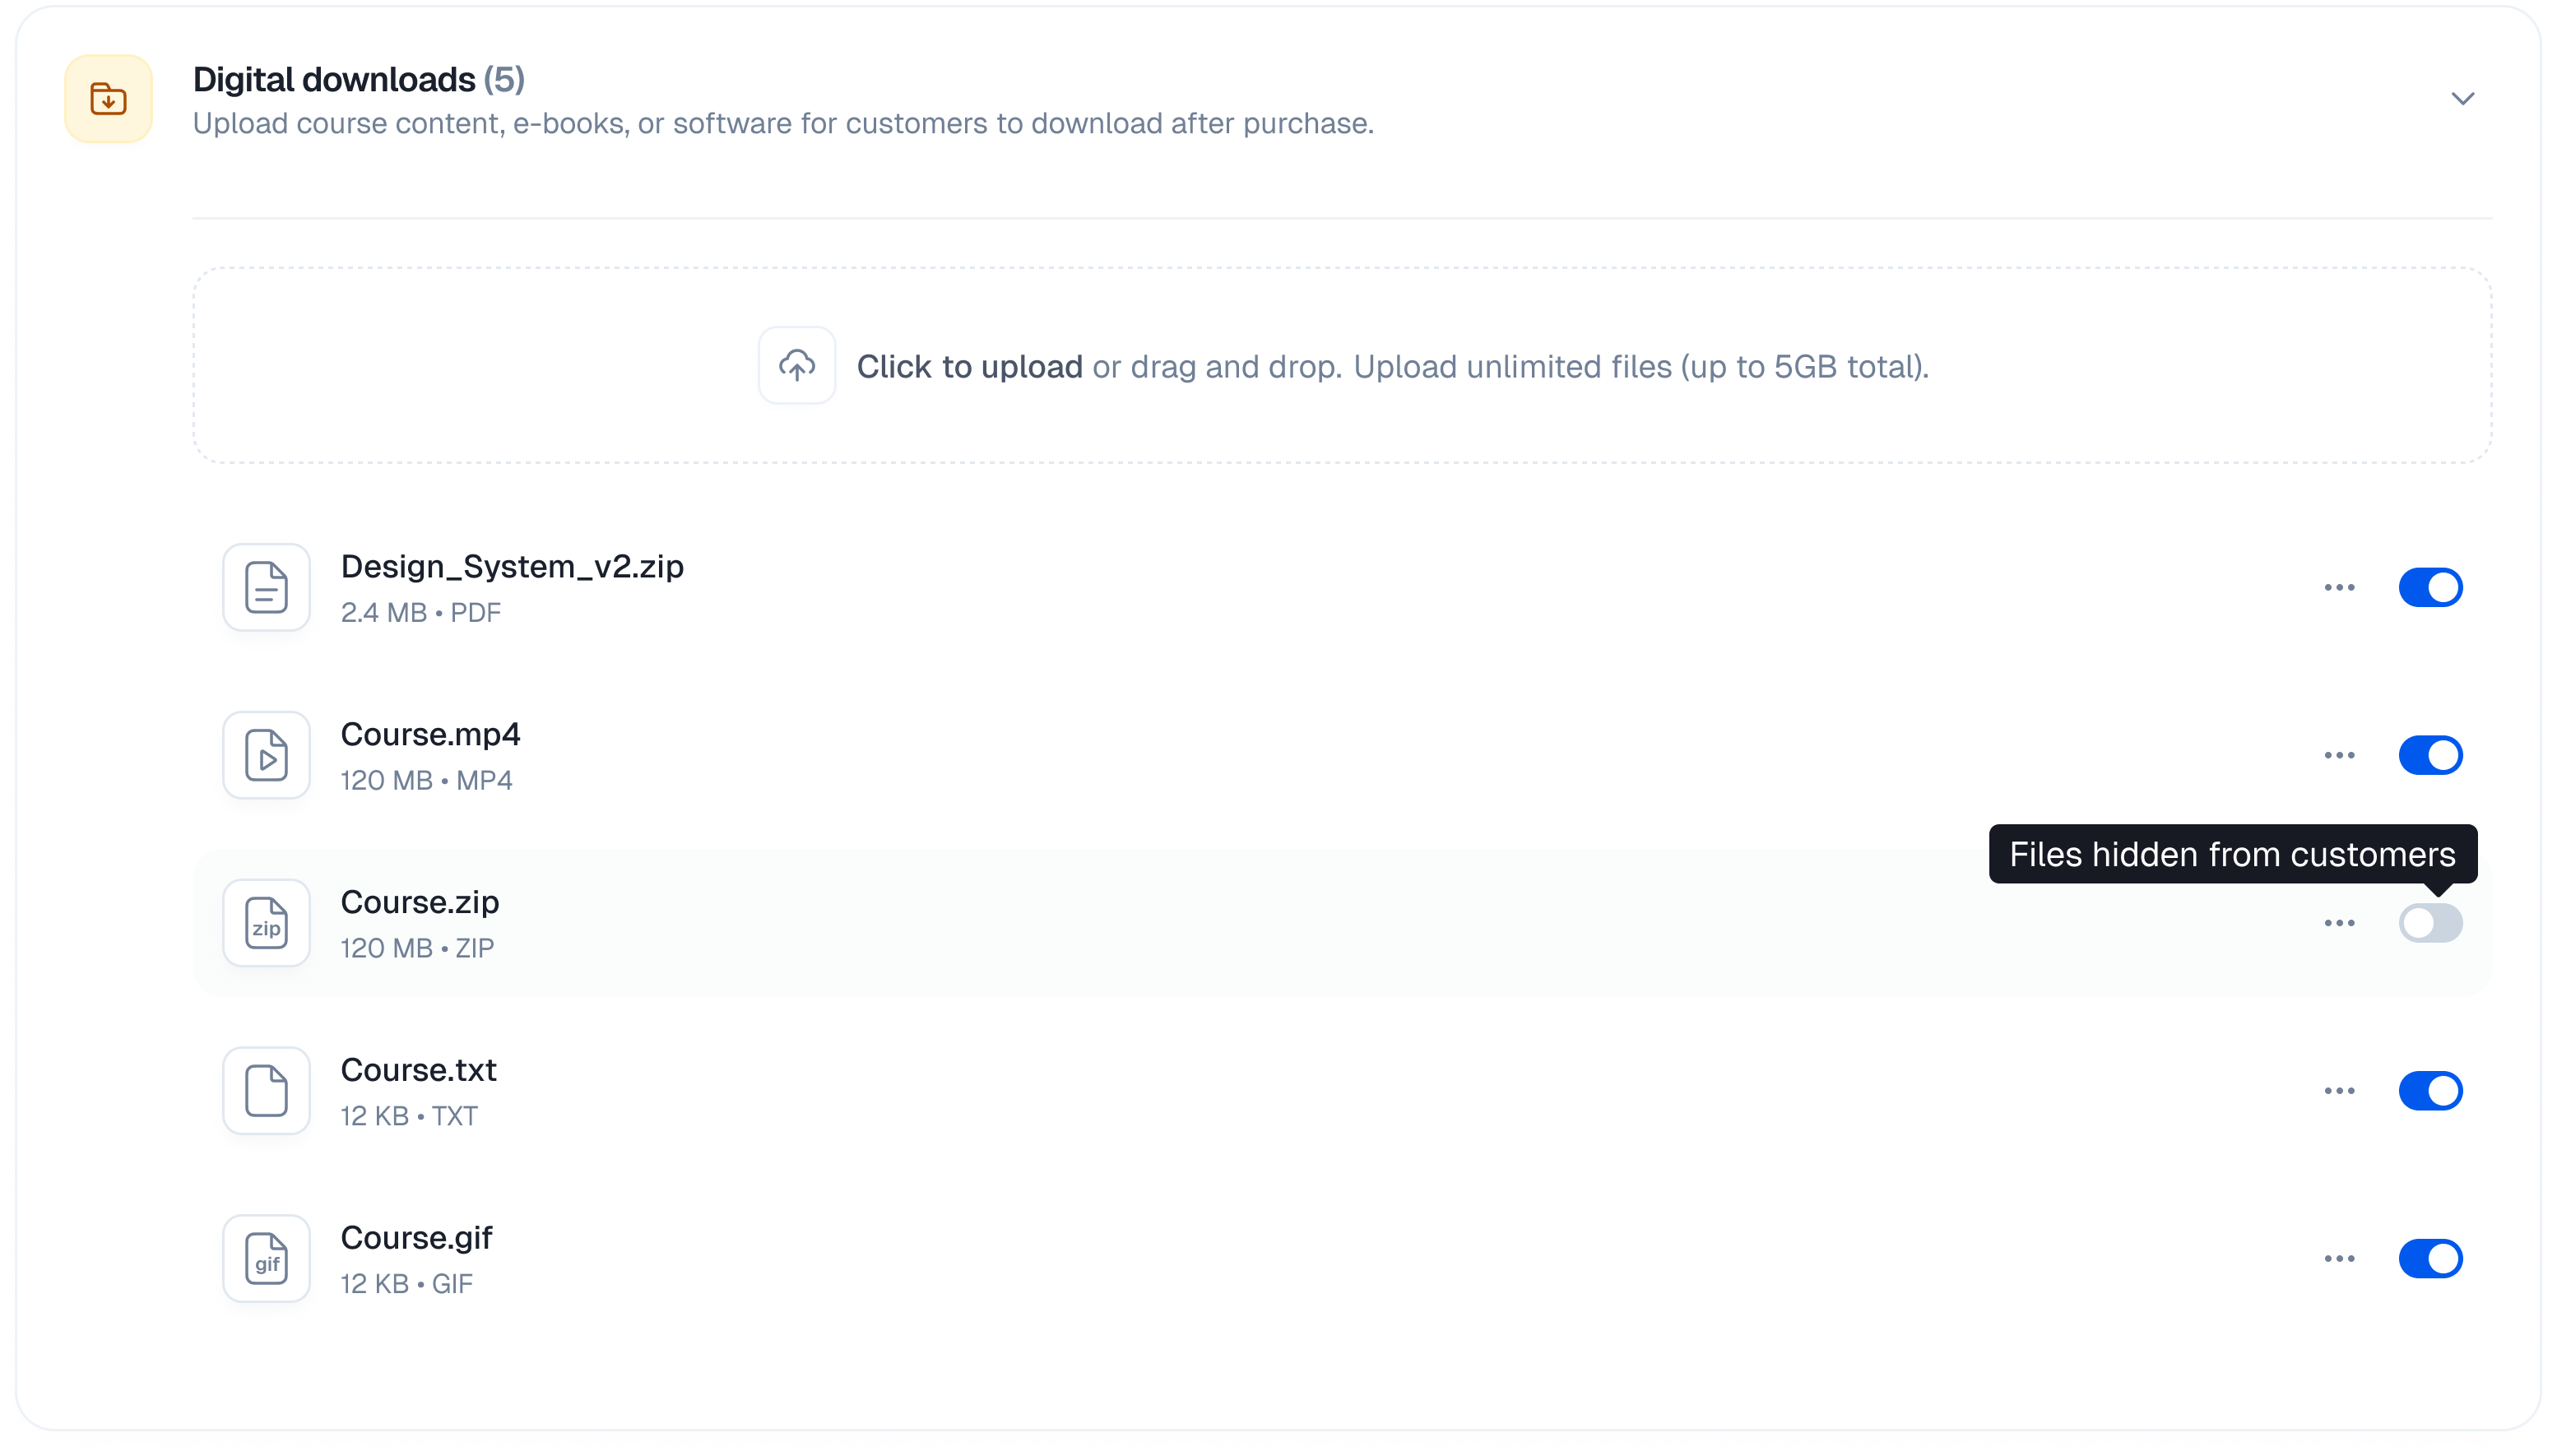 1. Find the file in the uploads list
2. Click the toggle switch next to the file
3. **Enabled** (toggle on): Customers can download this file
4. **Disabled** (toggle off): File is hidden from customers
This is useful when you need to temporarily remove access to a file or prepare files before making them available.
### File Actions Menu
Click the menu button (**⋯**) next to any file to access additional options:
1. Find the file in the uploads list
2. Click the toggle switch next to the file
3. **Enabled** (toggle on): Customers can download this file
4. **Disabled** (toggle off): File is hidden from customers
This is useful when you need to temporarily remove access to a file or prepare files before making them available.
### File Actions Menu
Click the menu button (**⋯**) next to any file to access additional options:
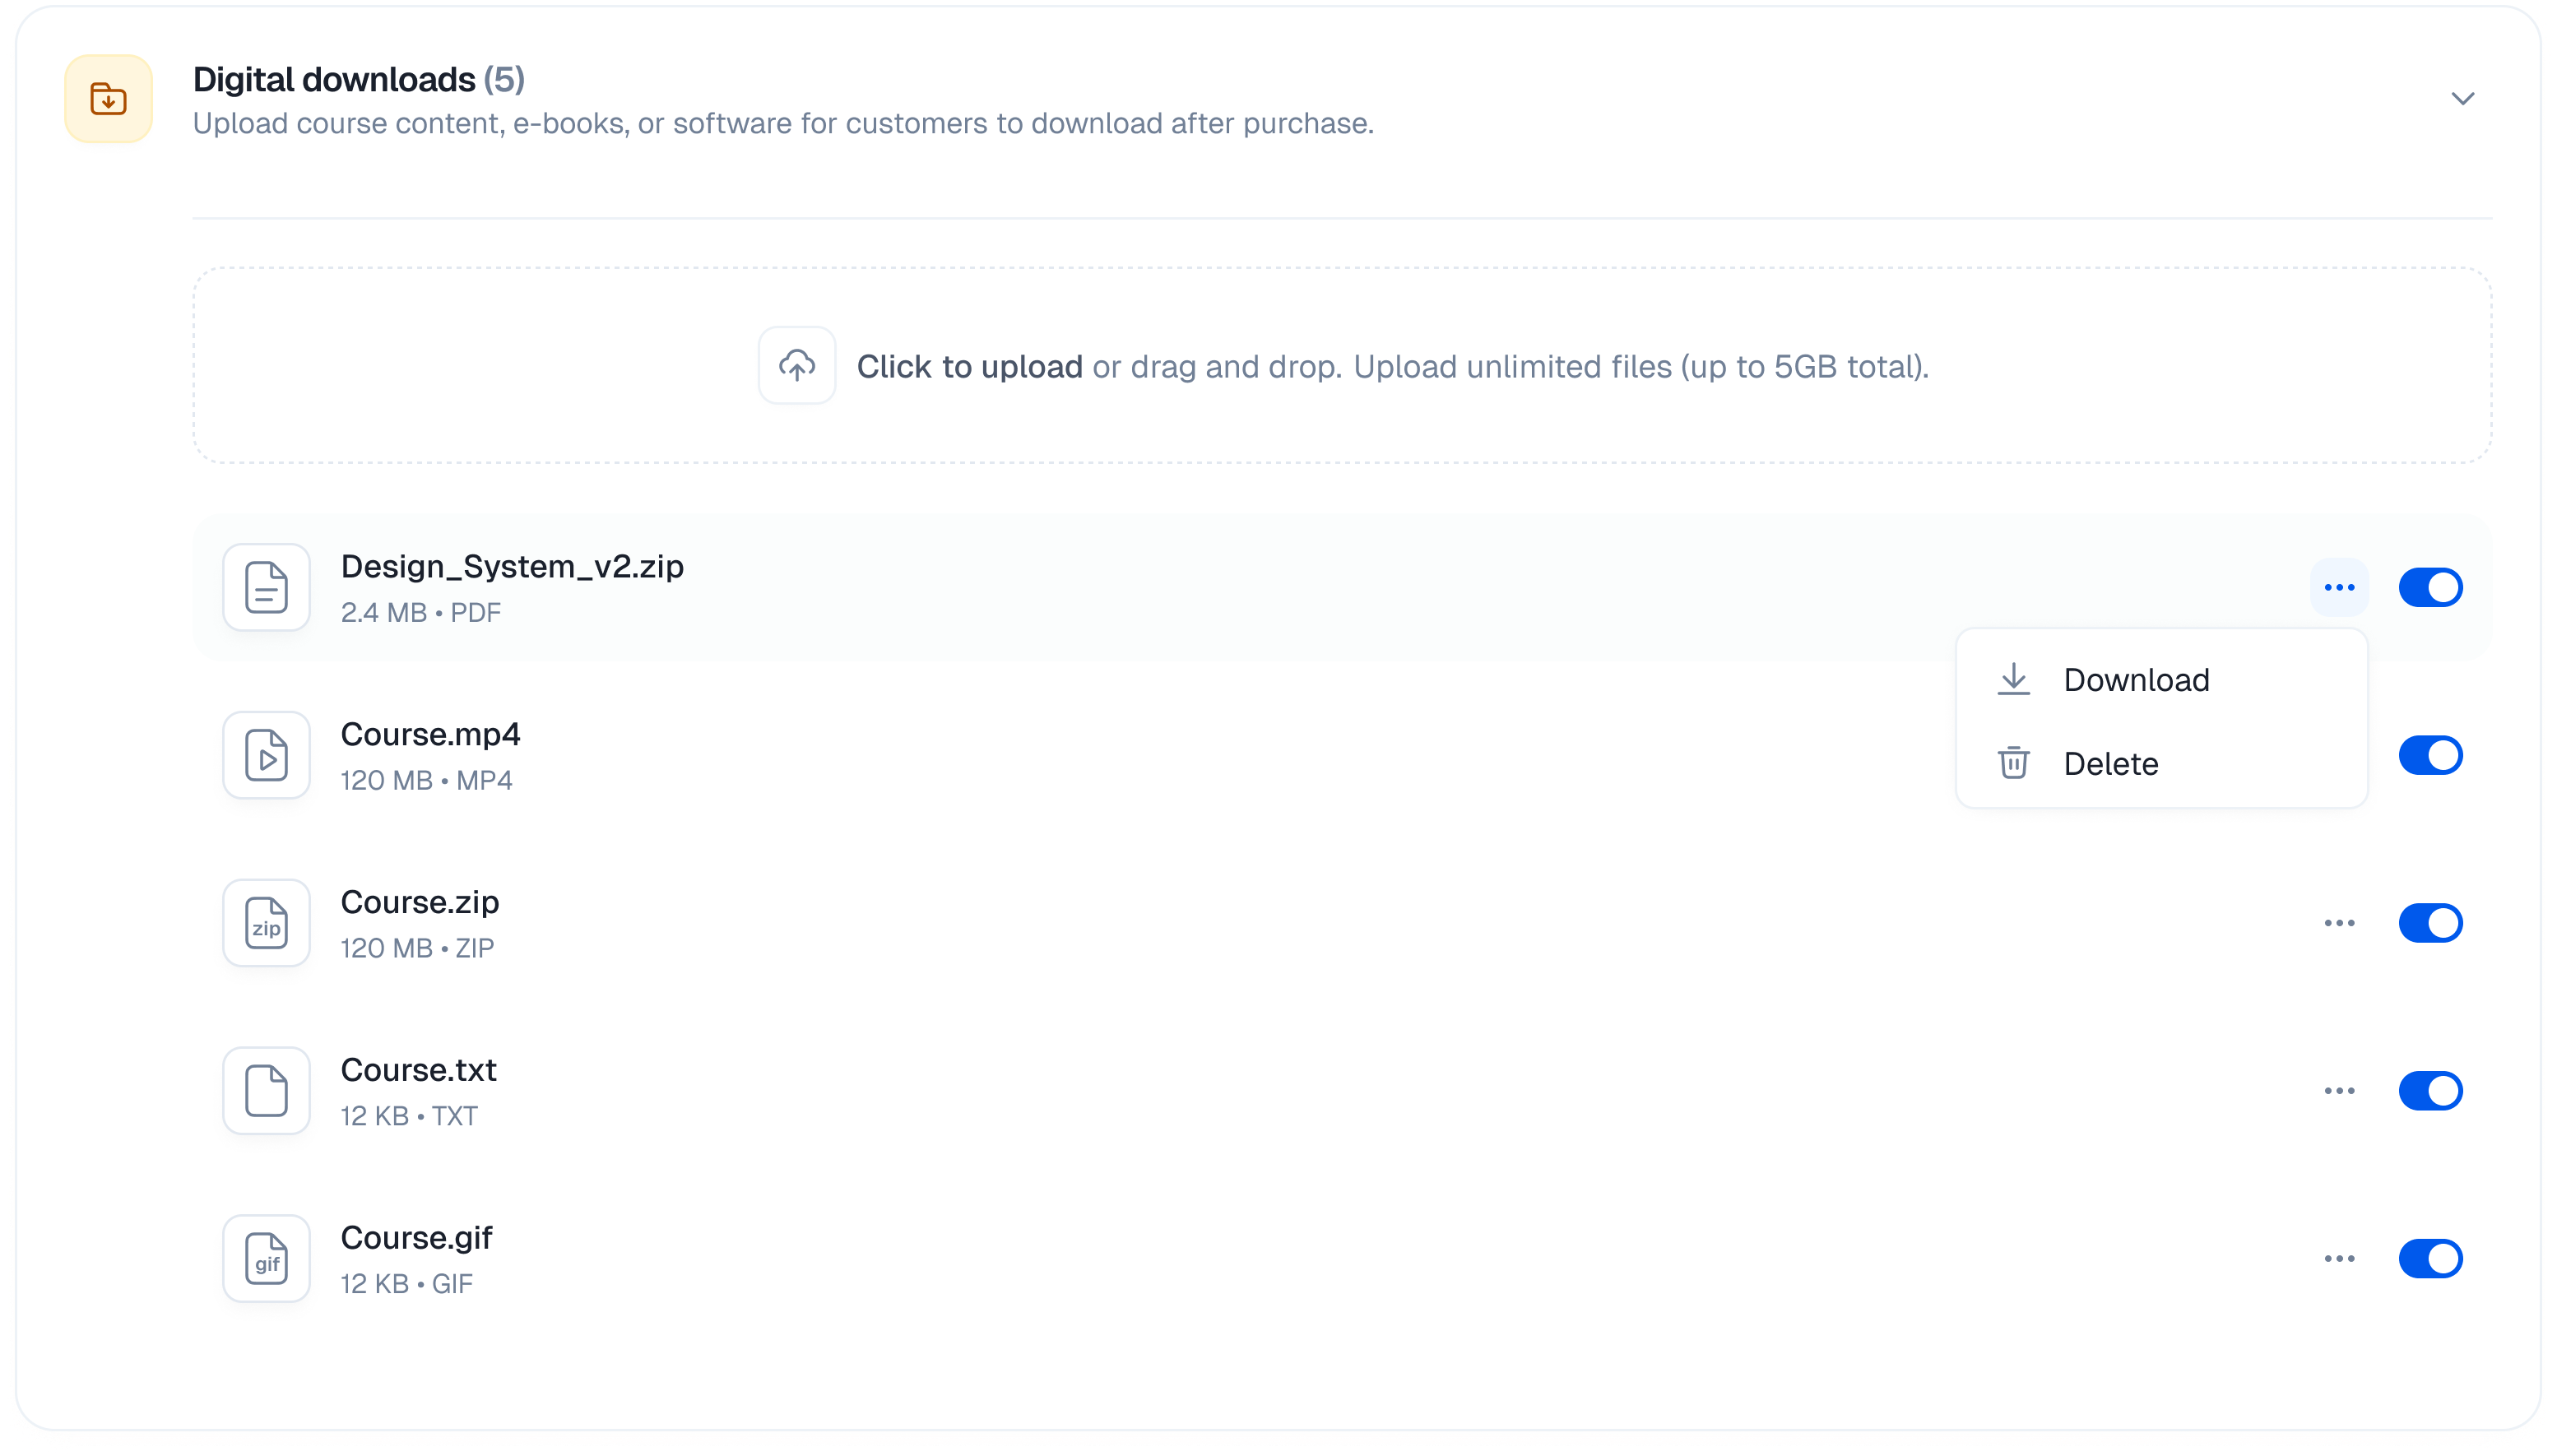 #### Download
Use the **Download** option to:
* Verify that the file uploaded correctly
* Check file contents before enabling for customers
* Save a local backup of uploaded files
To download a file:
1. Click the **⋯** menu button next to the file
2. Select **Download**
3. The file will download to your computer
#### Delete
To permanently remove a file:
1. Click the **⋯** menu button next to the file
2. Select **Delete**
3. The file will be permanently removed
> **Note**: Deleted files cannot be recovered. Make sure you have a backup before deleting.
## Customer Experience
After a successful purchase, customers can:
1. Access the order confirmation page
2. View all downloadable files associated with their purchased plan
3. Click to download each file directly
Files remain accessible to customers as long as their subscription or purchase is active.
#### Download
Use the **Download** option to:
* Verify that the file uploaded correctly
* Check file contents before enabling for customers
* Save a local backup of uploaded files
To download a file:
1. Click the **⋯** menu button next to the file
2. Select **Download**
3. The file will download to your computer
#### Delete
To permanently remove a file:
1. Click the **⋯** menu button next to the file
2. Select **Delete**
3. The file will be permanently removed
> **Note**: Deleted files cannot be recovered. Make sure you have a backup before deleting.
## Customer Experience
After a successful purchase, customers can:
1. Access the order confirmation page
2. View all downloadable files associated with their purchased plan
3. Click to download each file directly
Files remain accessible to customers as long as their subscription or purchase is active.