> ## Documentation Index
> Fetch the complete documentation index at: https://docs.kelviq.com/llms.txt
> Use this file to discover all available pages before exploring further.
# Links
> Share links with your customers
Links allow you to share important URLs with customers after they purchase your plan. Use links to grant access to communities, resources, or any web-based content.
## Overview
Use Links to share:
* **Community access** – Discord servers, Slack workspaces, or private forums
* **Knowledge bases** – Notion pages, documentation sites, or wikis
* **Membership portals** – Member-only websites or dashboards
* **Resource libraries** – Google Drive folders, Dropbox links, or online courses
* **Any other web content** your customers need access to
## Accessing Links
 1. Navigate to **Products** in the sidebar
2. Select the product containing your plan
3. Click on the plan you want to edit
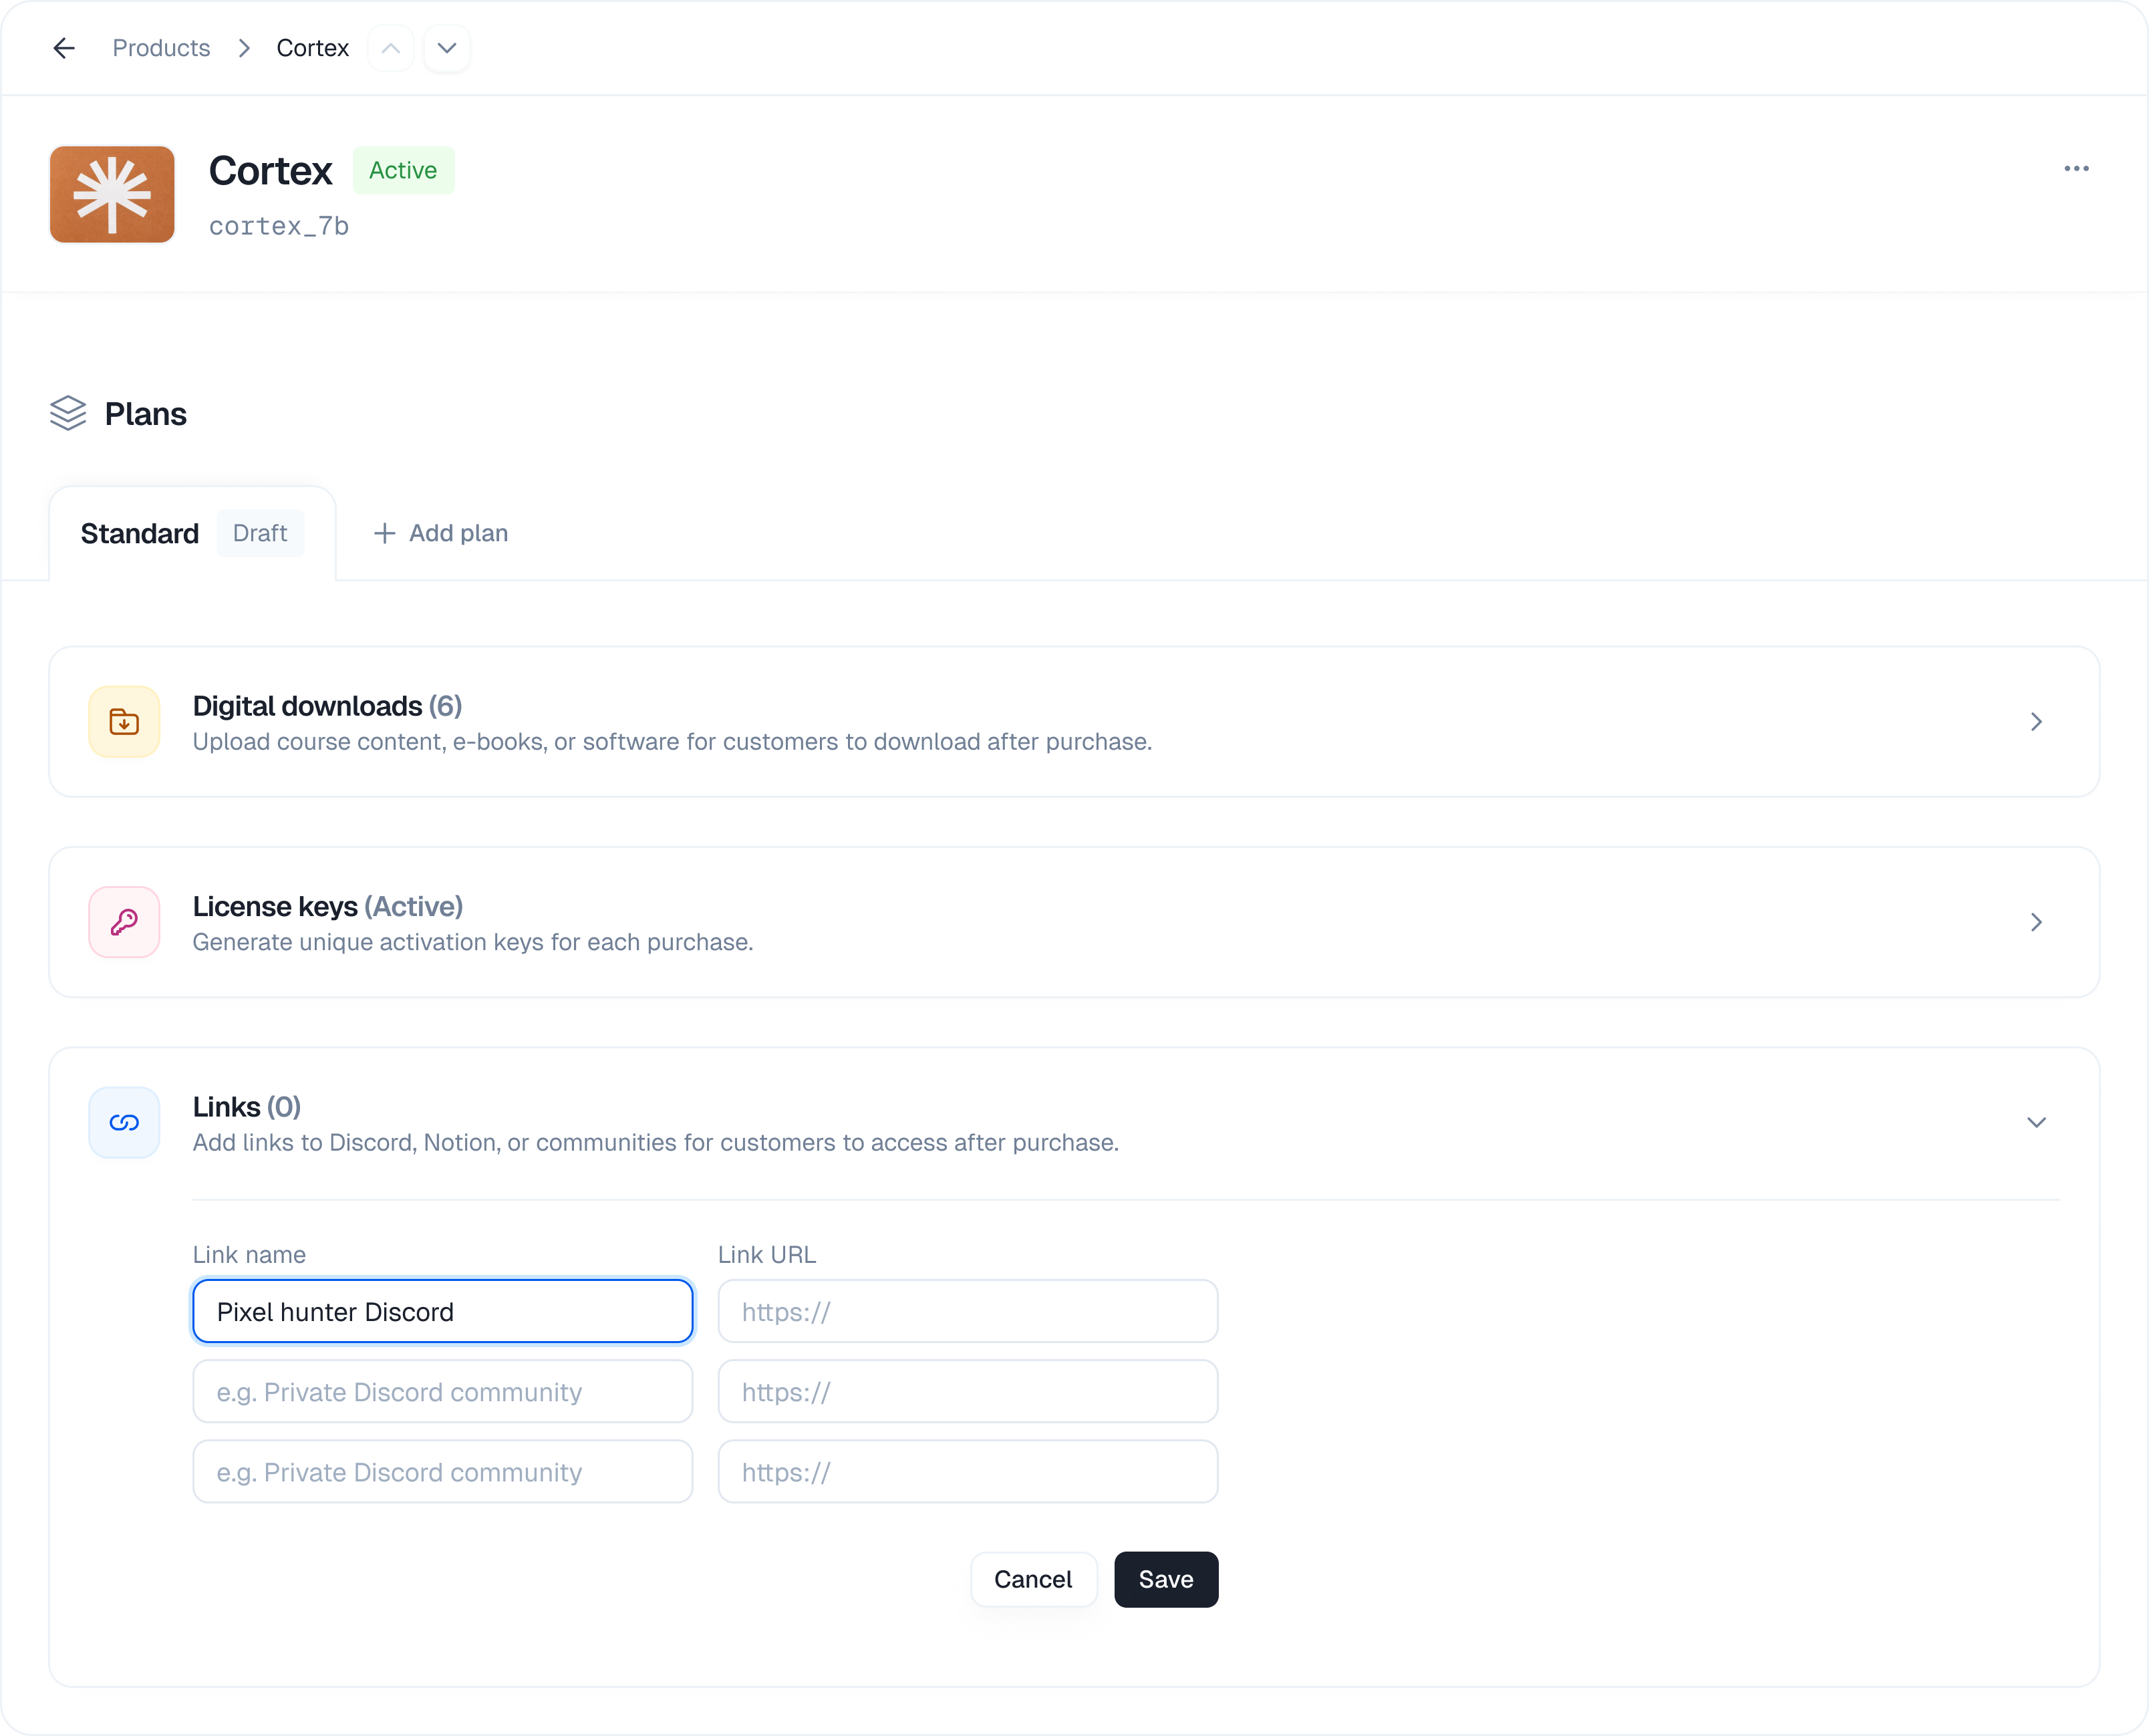
4. Scroll down to the **Links** section
5. Click the expand arrow to open the section
The section header shows the current count of saved links (e.g., "Links (3)").
## Adding Links
### How to Add a Link
1. Navigate to **Products** in the sidebar
2. Select the product containing your plan
3. Click on the plan you want to edit
4. Scroll down to the **Links** section
5. Click the expand arrow to open the section
The section header shows the current count of saved links (e.g., "Links (3)").
## Adding Links
### How to Add a Link
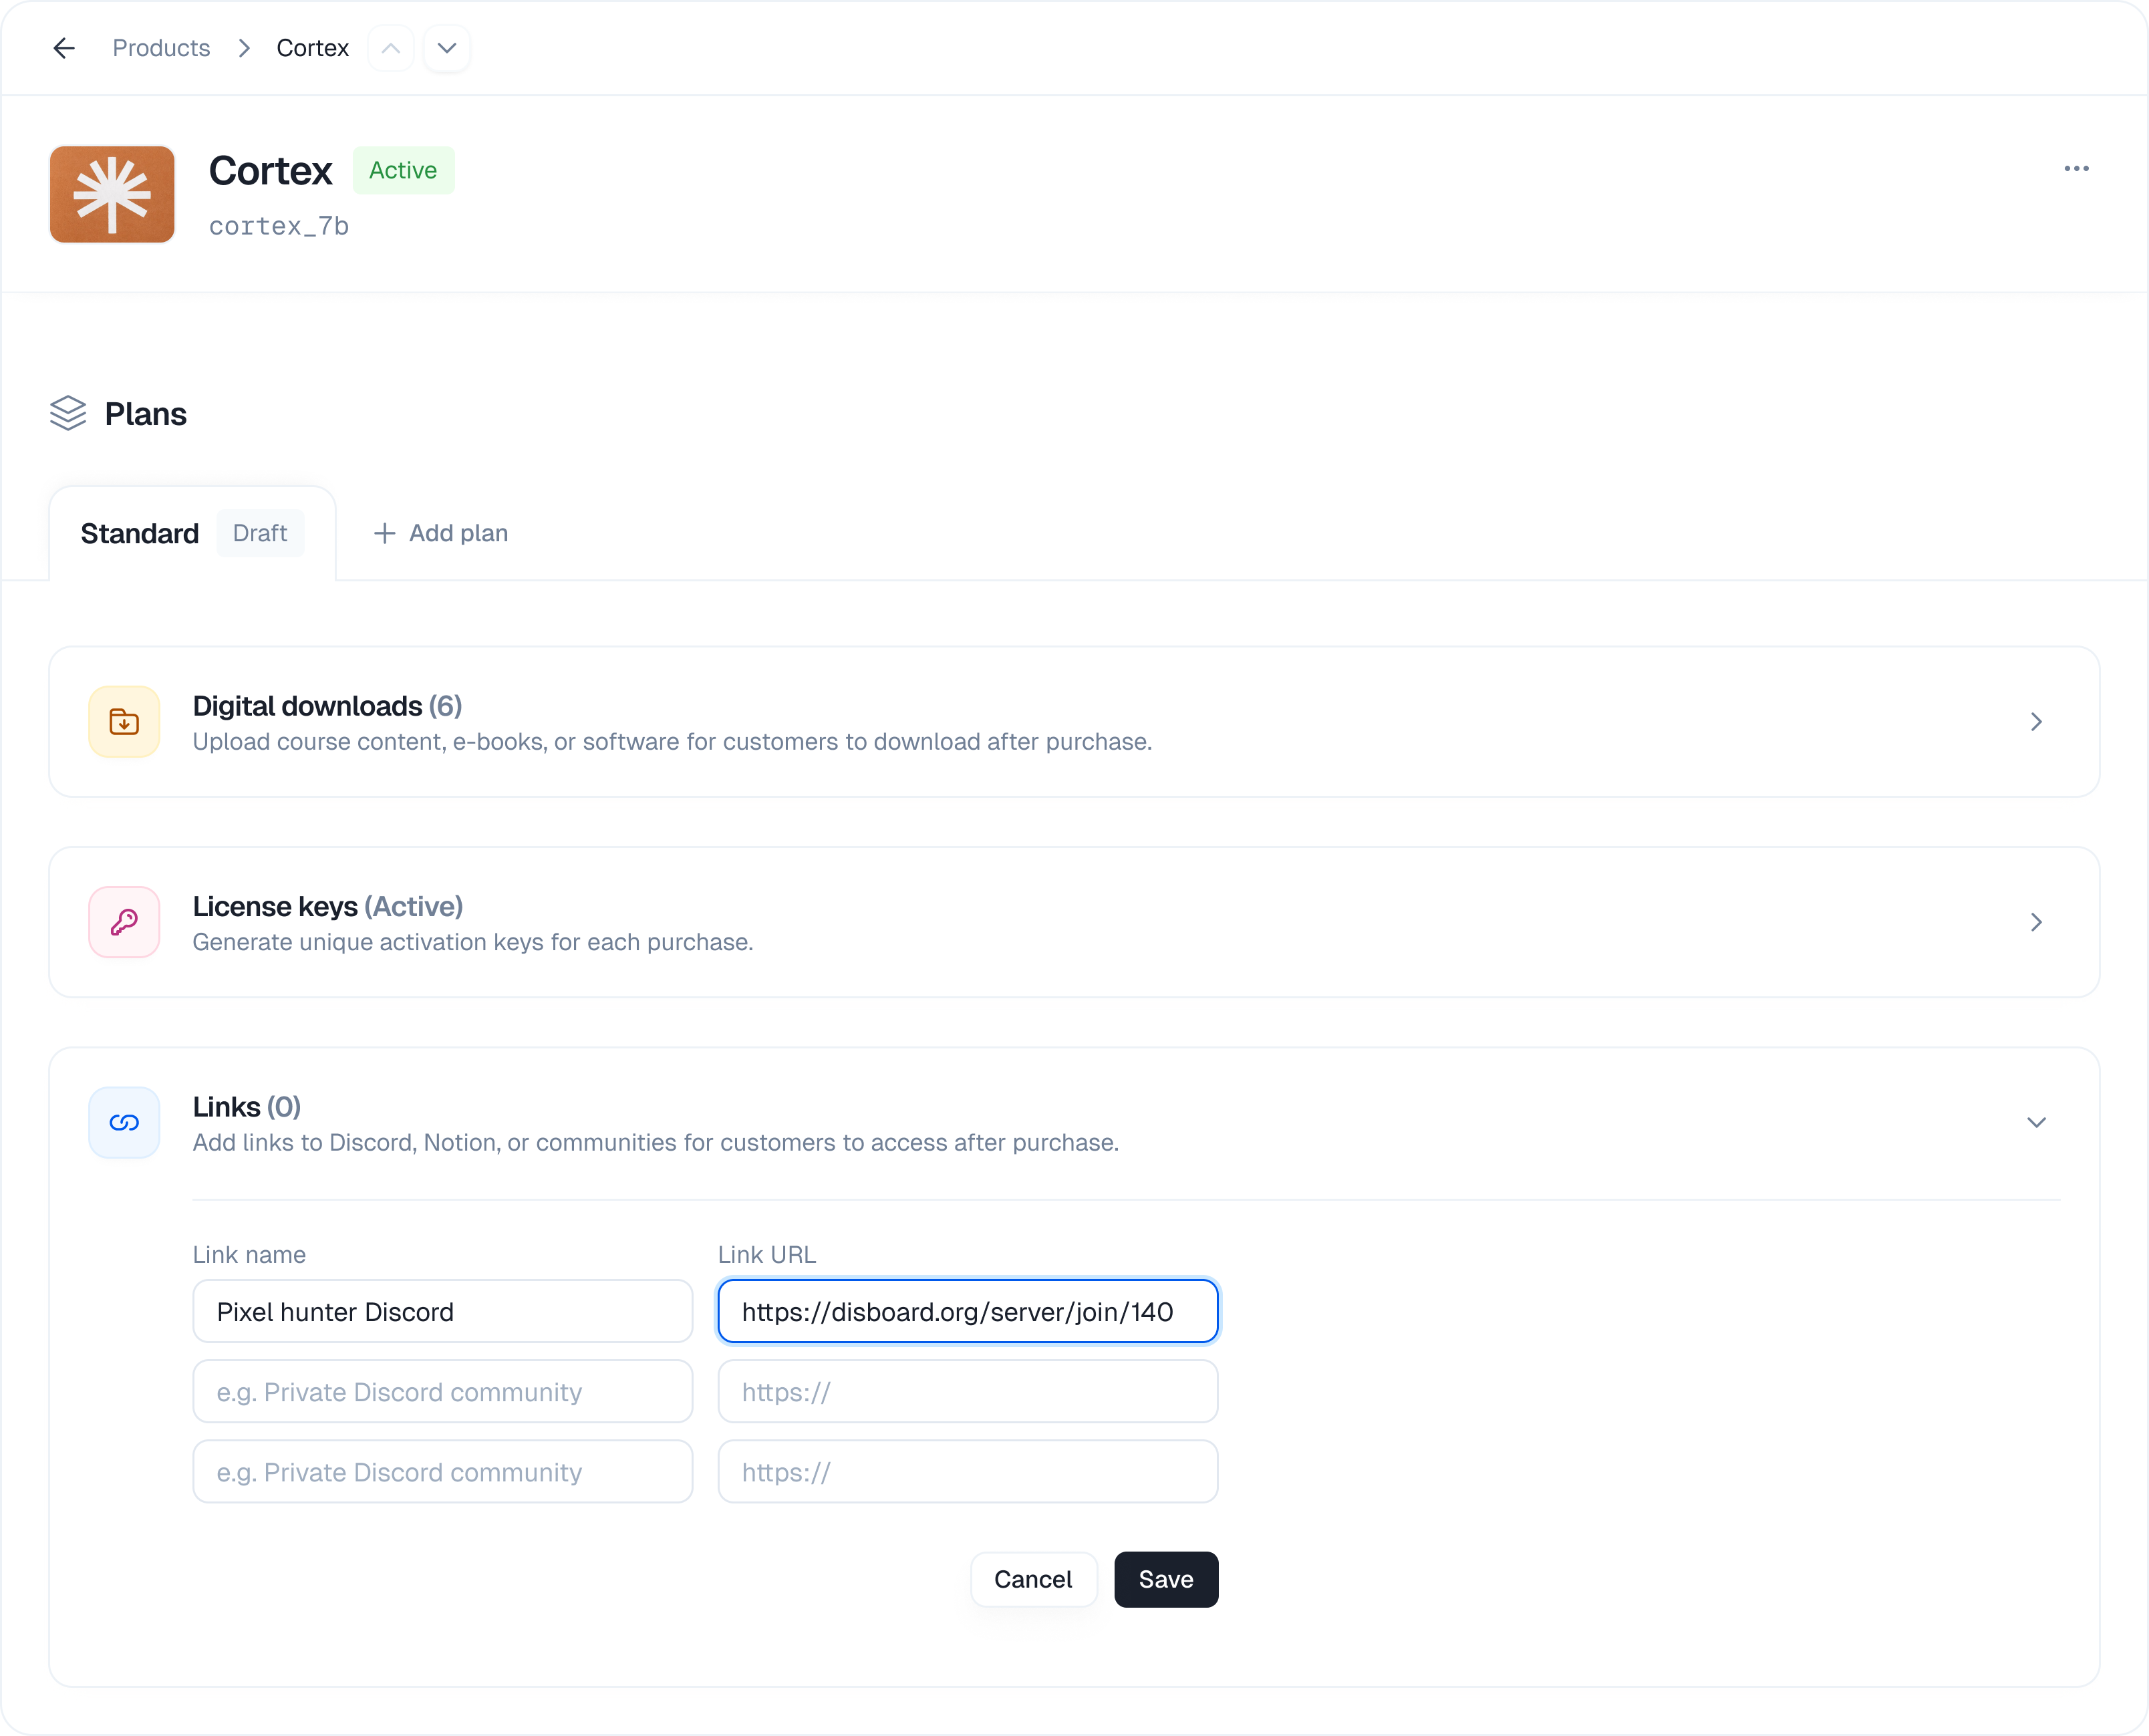 1. Open the **Links** section
2. You'll see two input fields:
* **Link name** – A descriptive name for the link
* **Link URL** – The full URL starting with `https://`
3. Enter the link name (e.g., "Private Discord community")
4. Enter the full URL (e.g., `https://discord.gg/your-invite`)
5. Click **+ Add link** to add another row if needed
6. Click **Save** to save all links
### Link Name Examples
Choose clear, descriptive names that tell customers what they'll access:
| Good Examples | Why It Works |
| ------------------------- | ------------------------------ |
| Private Discord Community | Clear destination |
| Course Materials (Notion) | Describes content and platform |
| Member Dashboard | Indicates exclusive access |
| Resource Library | Explains what's inside |
### URL Requirements
* URLs must start with `https://` or `http://`
* URLs must be valid and properly formatted
* Each link requires both a name and URL to be saved
## Managing Links
### Edit Existing Links
1. Open the **Links** section
2. Modify the link name or URL directly in the input fields
3. Click **Save** to update
### Remove a Link
1. Open the **Links** section
2. You'll see two input fields:
* **Link name** – A descriptive name for the link
* **Link URL** – The full URL starting with `https://`
3. Enter the link name (e.g., "Private Discord community")
4. Enter the full URL (e.g., `https://discord.gg/your-invite`)
5. Click **+ Add link** to add another row if needed
6. Click **Save** to save all links
### Link Name Examples
Choose clear, descriptive names that tell customers what they'll access:
| Good Examples | Why It Works |
| ------------------------- | ------------------------------ |
| Private Discord Community | Clear destination |
| Course Materials (Notion) | Describes content and platform |
| Member Dashboard | Indicates exclusive access |
| Resource Library | Explains what's inside |
### URL Requirements
* URLs must start with `https://` or `http://`
* URLs must be valid and properly formatted
* Each link requires both a name and URL to be saved
## Managing Links
### Edit Existing Links
1. Open the **Links** section
2. Modify the link name or URL directly in the input fields
3. Click **Save** to update
### Remove a Link
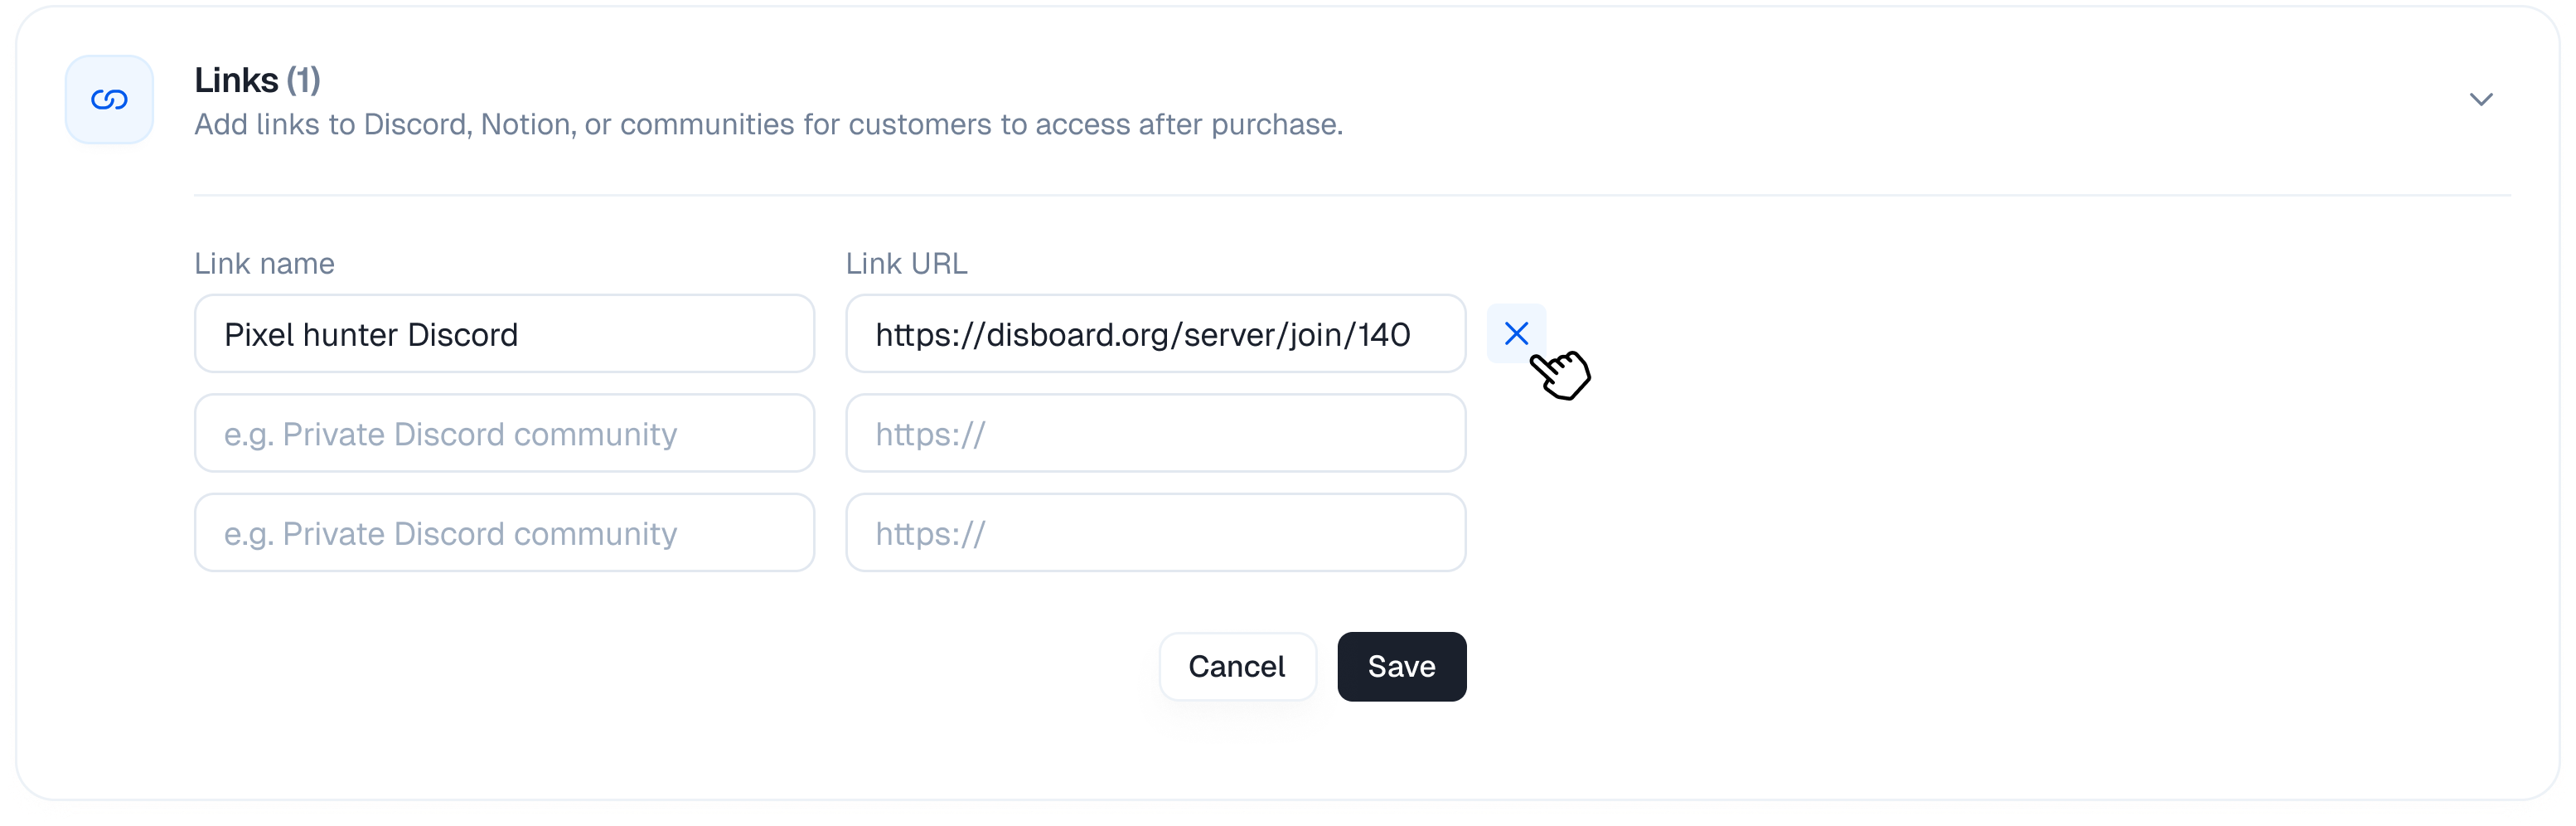 1. Open the **Links** section
2. Click the **×** button next to the link you want to remove
3. Click **Save** to confirm the removal
### Cancel Changes
If you've made changes but want to discard them:
1. Click **Cancel**
2. All unsaved changes will be reverted to the last saved state
## Customer Experience
After a successful purchase, customers can:
1. Access the order confirmation page
2. View all links associated with their purchased plan
3. Click any link to open it in a new tab
Links remain accessible to customers as long as their subscription or purchase is active.
1. Open the **Links** section
2. Click the **×** button next to the link you want to remove
3. Click **Save** to confirm the removal
### Cancel Changes
If you've made changes but want to discard them:
1. Click **Cancel**
2. All unsaved changes will be reverted to the last saved state
## Customer Experience
After a successful purchase, customers can:
1. Access the order confirmation page
2. View all links associated with their purchased plan
3. Click any link to open it in a new tab
Links remain accessible to customers as long as their subscription or purchase is active.