> ## Documentation Index
> Fetch the complete documentation index at: https://docs.kelviq.com/llms.txt
> Use this file to discover all available pages before exploring further.
# Products
> Create and manage your high-level product containers
A product is the top-level container for what you sell. It groups together your pricing plans, features, and assets into a single family.
Before you can create plans or configure billing logic, you need to define the product they belong to.
 ## Create a product
Follow these steps to set up a new product.
Navigate to **Product Catalog > Products** in the sidebar.
Click **+ Create product** in the top right corner.
## Create a product
Follow these steps to set up a new product.
Navigate to **Product Catalog > Products** in the sidebar.
Click **+ Create product** in the top right corner.
 Fill out the basic information for your product.
* **Product name** — The public name shown to customers, such as “Pro Templates”.
* **Description** — A short summary of the offering.
* **Media** — Upload up to 10 images to showcase the product on checkout. We recommend a 4:3 aspect ratio (1600 × 1200 px).
Kelviq assigns an internal UUID when the product is created. You do not need to create or manage a separate product identifier in the dashboard.
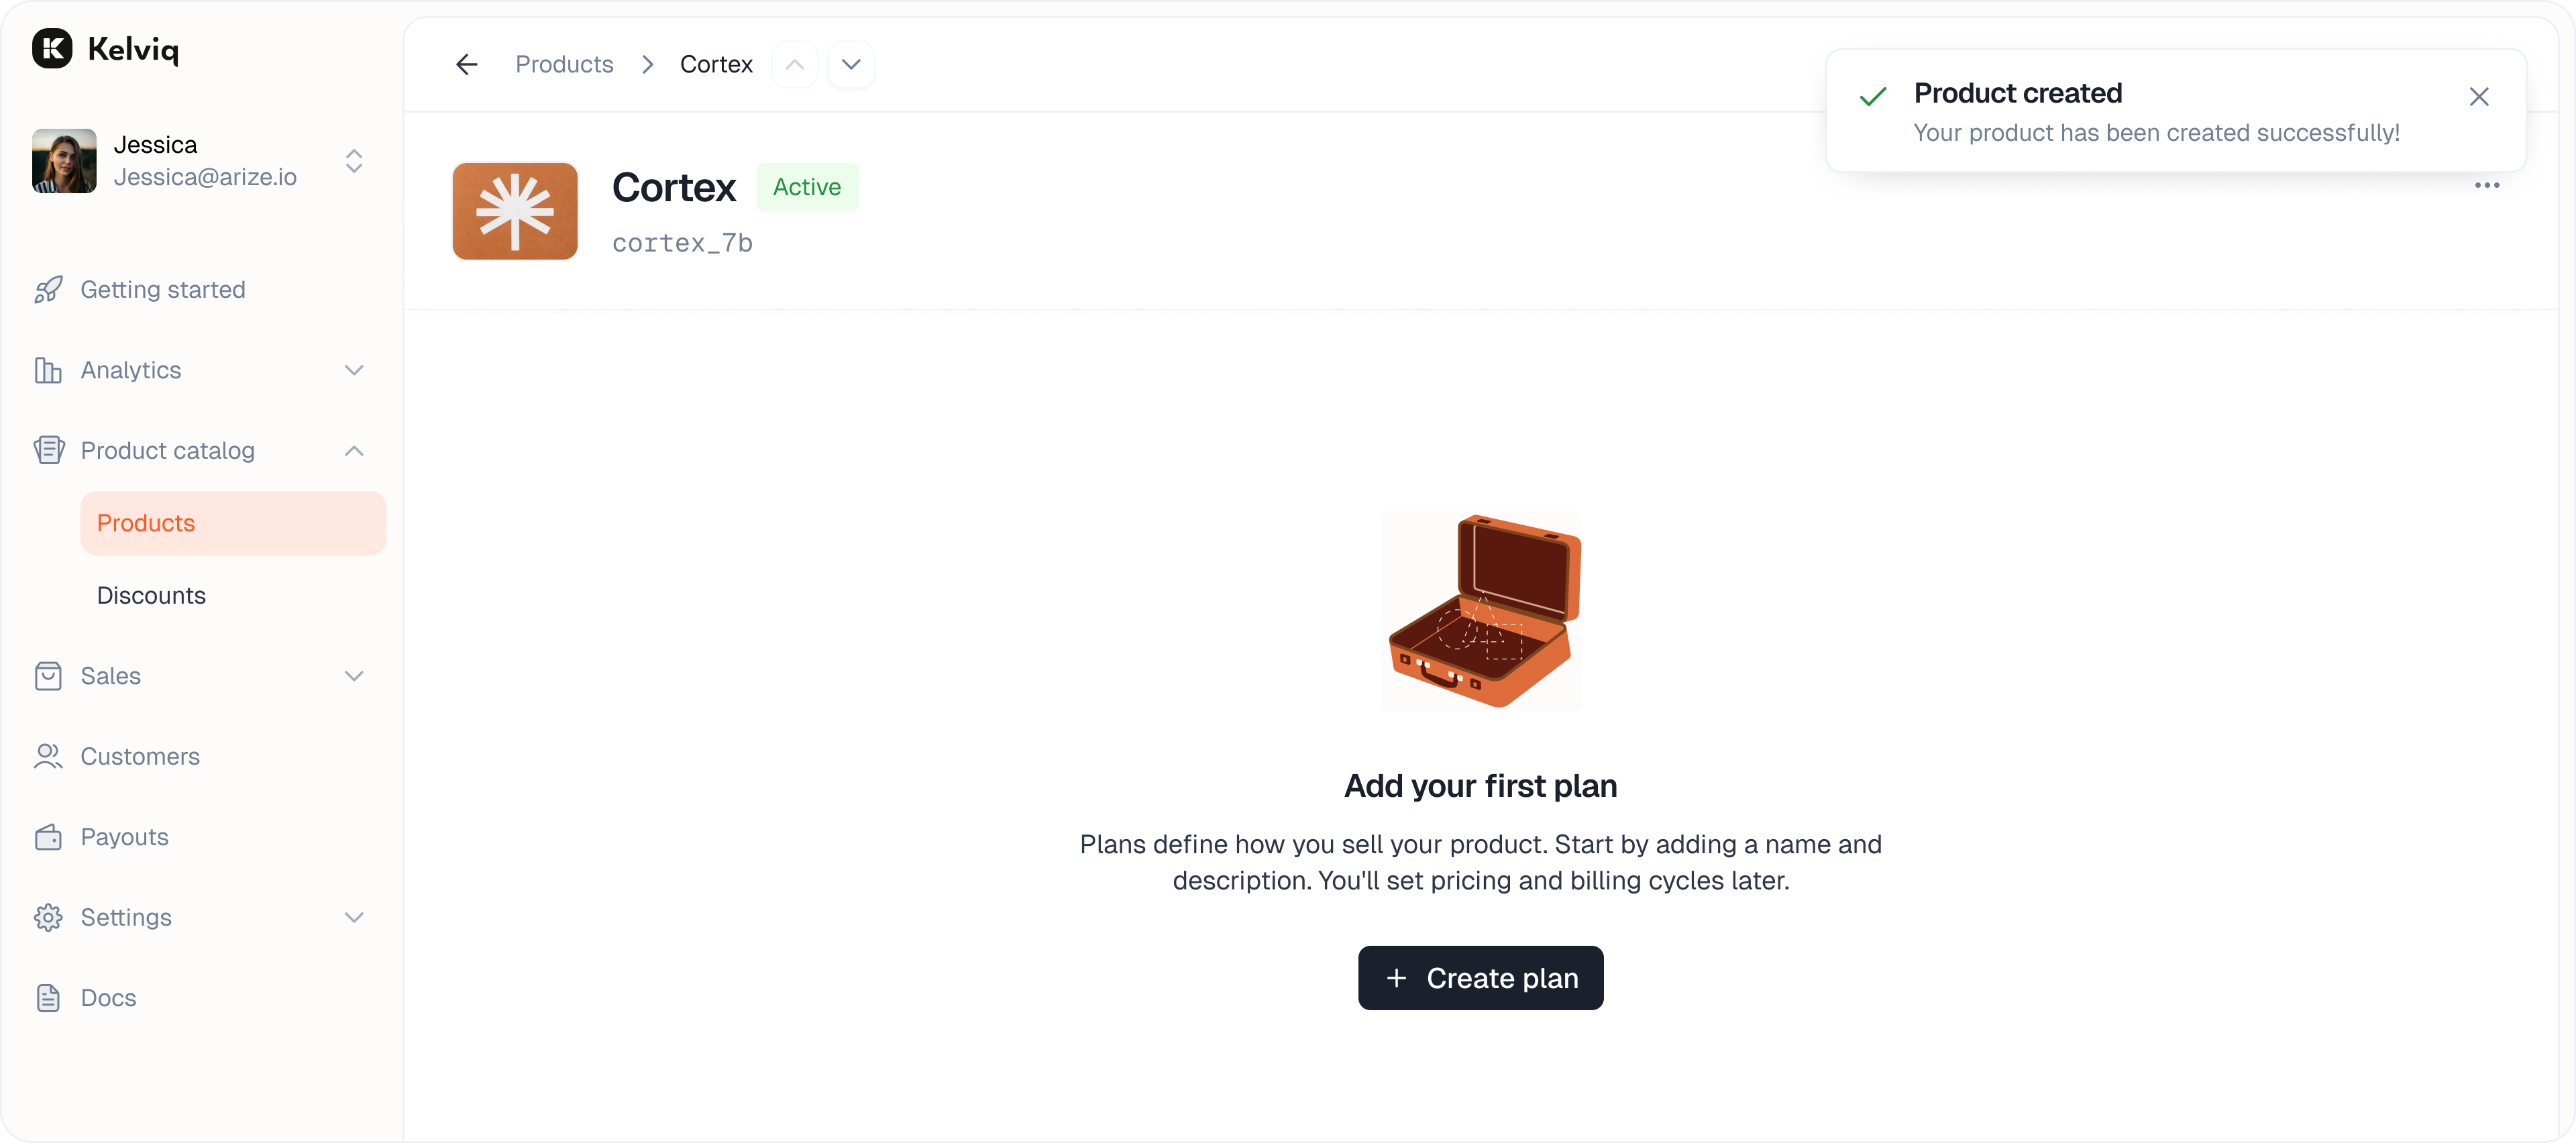
Click **Create**. You will be redirected to the product details page.
Fill out the basic information for your product.
* **Product name** — The public name shown to customers, such as “Pro Templates”.
* **Description** — A short summary of the offering.
* **Media** — Upload up to 10 images to showcase the product on checkout. We recommend a 4:3 aspect ratio (1600 × 1200 px).
Kelviq assigns an internal UUID when the product is created. You do not need to create or manage a separate product identifier in the dashboard.
Click **Create**. You will be redirected to the product details page.
 ## Next steps
Now that you have a product container, you can define the pricing plans and deliverables inside it.
## Next steps
Now that you have a product container, you can define the pricing plans and deliverables inside it.