Overview
Use Digital Downloads to deliver:- Course content – PDFs, videos, or supplementary materials
- E-books – Digital books in PDF, EPUB, or other formats
- Software – Installers, license files, or application packages
- Templates – Design files, spreadsheets, or document templates
- Any other digital content your customers need
Accessing Digital Downloads
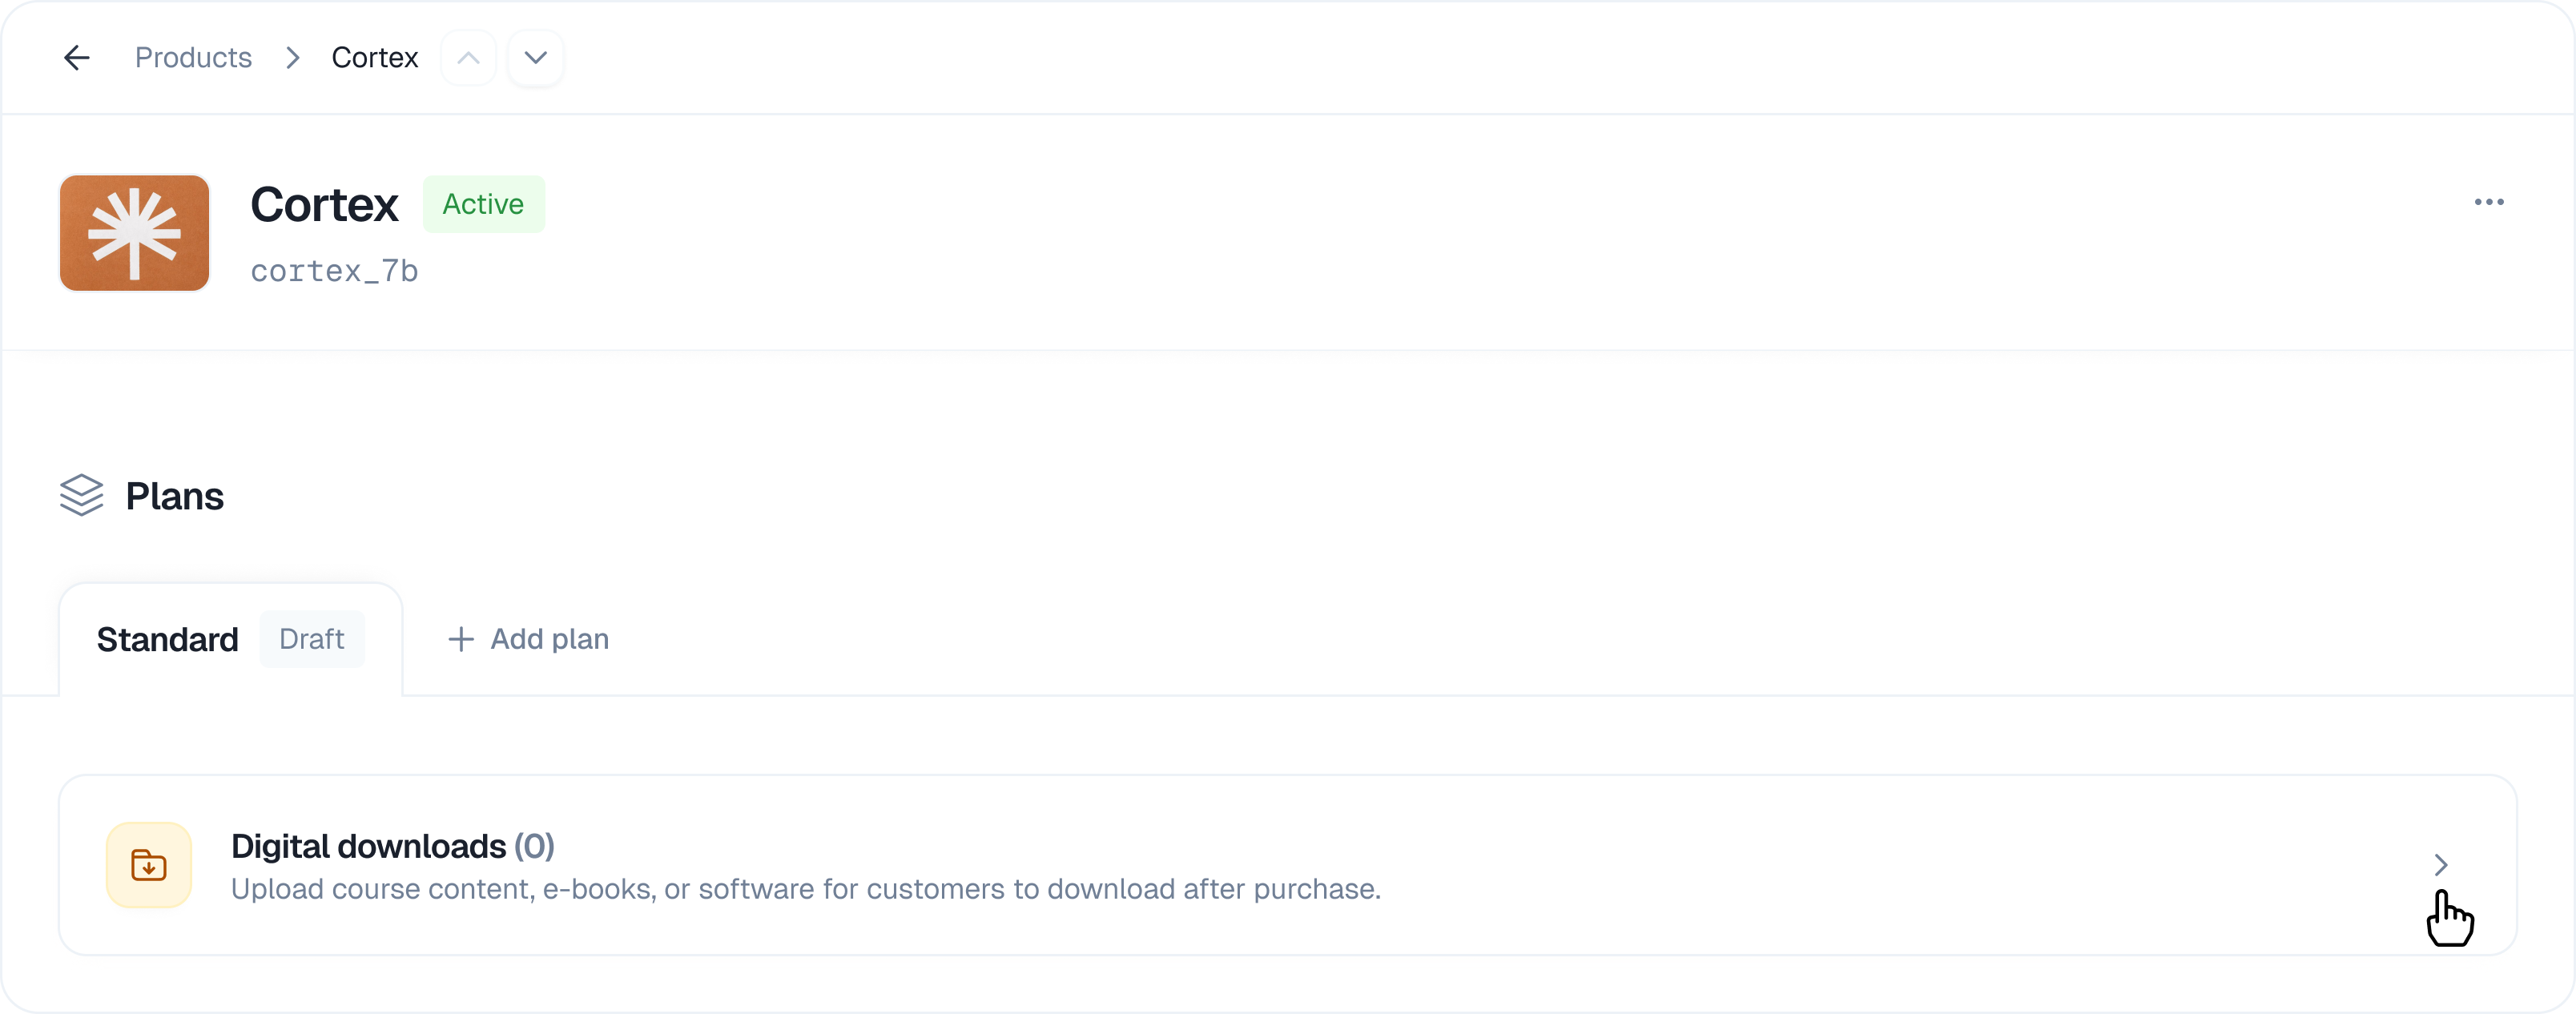
- Navigate to Products in the sidebar
- Select the product containing your plan
- Click on the plan you want to edit
- Scroll down to the Digital downloads section
- Click the expand arrow to open the section
Uploading Files
How to Upload
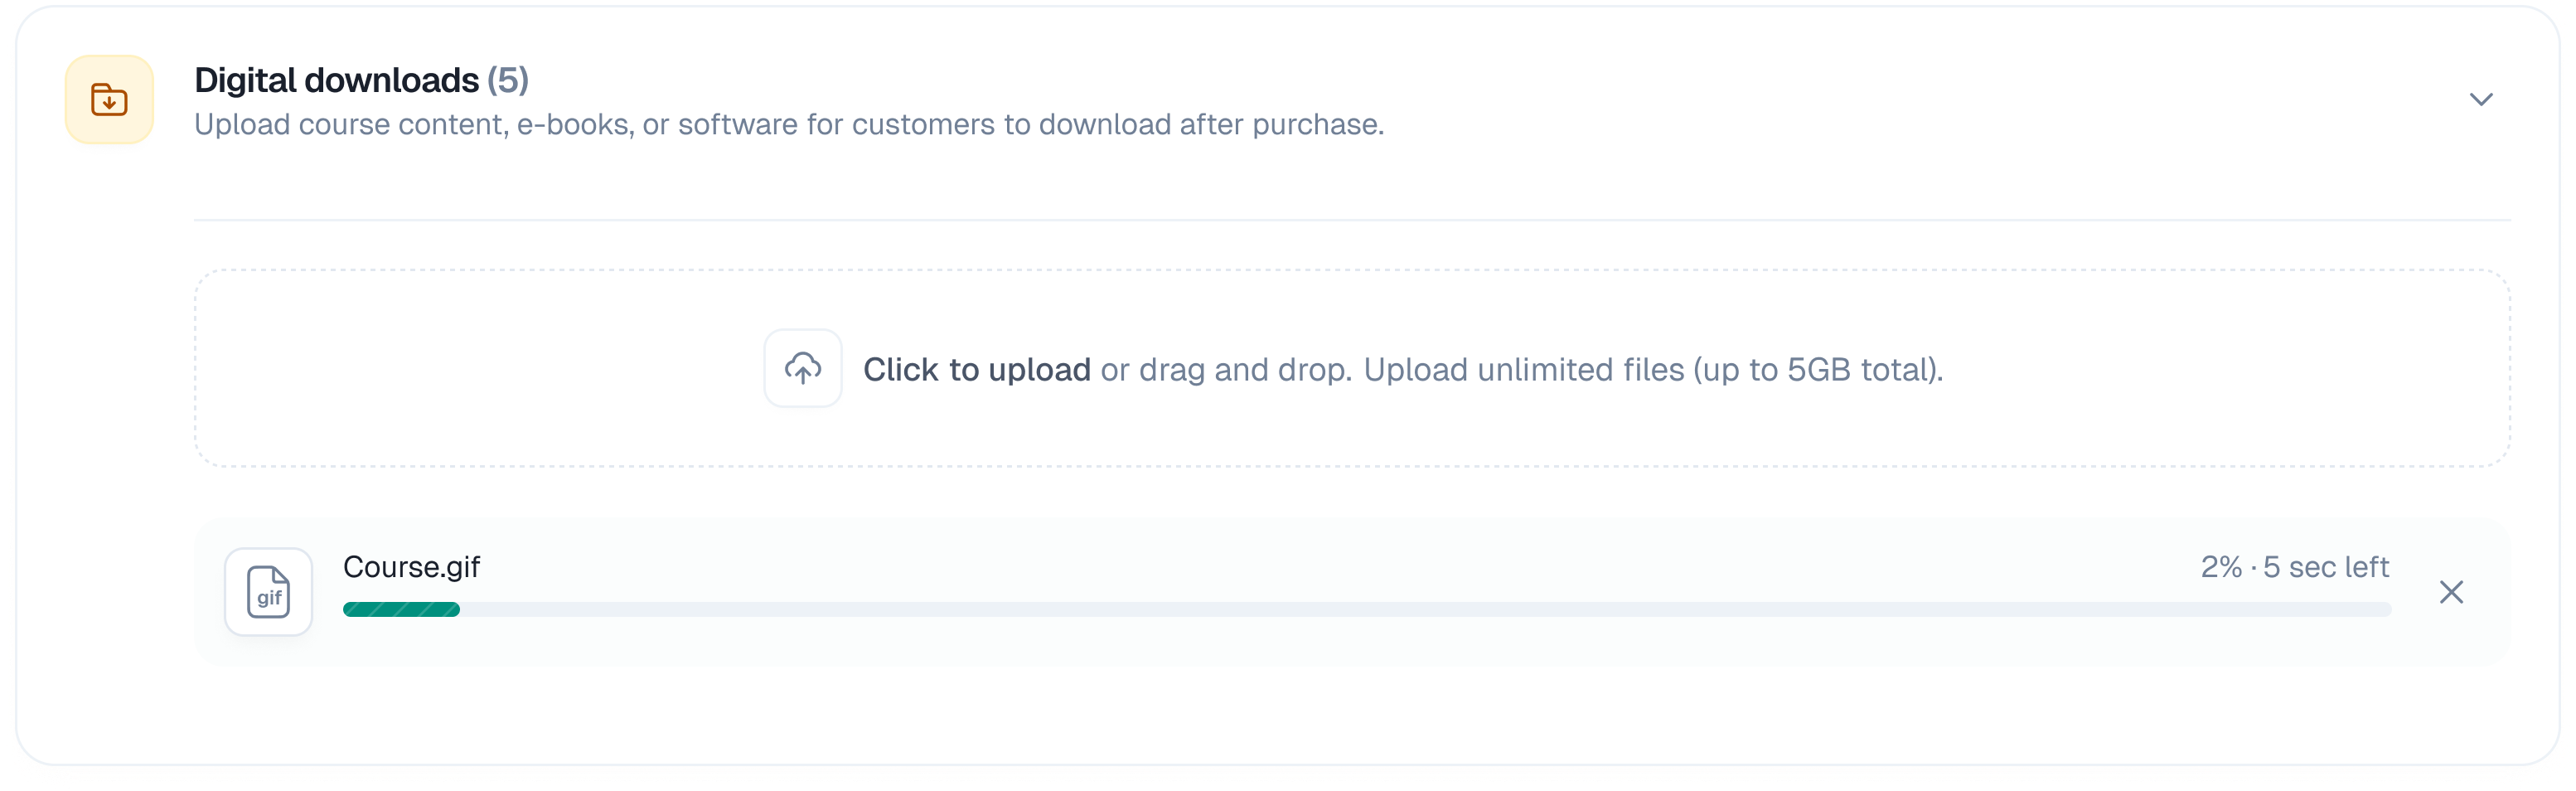
- Open the Digital downloads section
- Click anywhere in the upload area, or drag and drop files directly
- Select one or more files from your computer
- Files will begin uploading automatically
- Once complete, files appear in the Uploads list
Upload Progress
- File name and size
- Progress bar showing upload percentage
- Status indicator (uploading, complete, or error)
File Size Limits
- Maximum file size: 5 GB per file
- Multiple files: You can upload multiple files at once
Supported File Types
All file types are supported, including:- Documents: PDF, DOCX, TXT, etc.
- Images: PNG, JPG, GIF, SVG, etc.
- Videos: MP4, MOV, AVI, etc.
- Audio: MP3, WAV, FLAC, etc.
- Archives: ZIP, RAR, 7Z, etc.
- Software: EXE, DMG, APP, etc.
- Any other file format
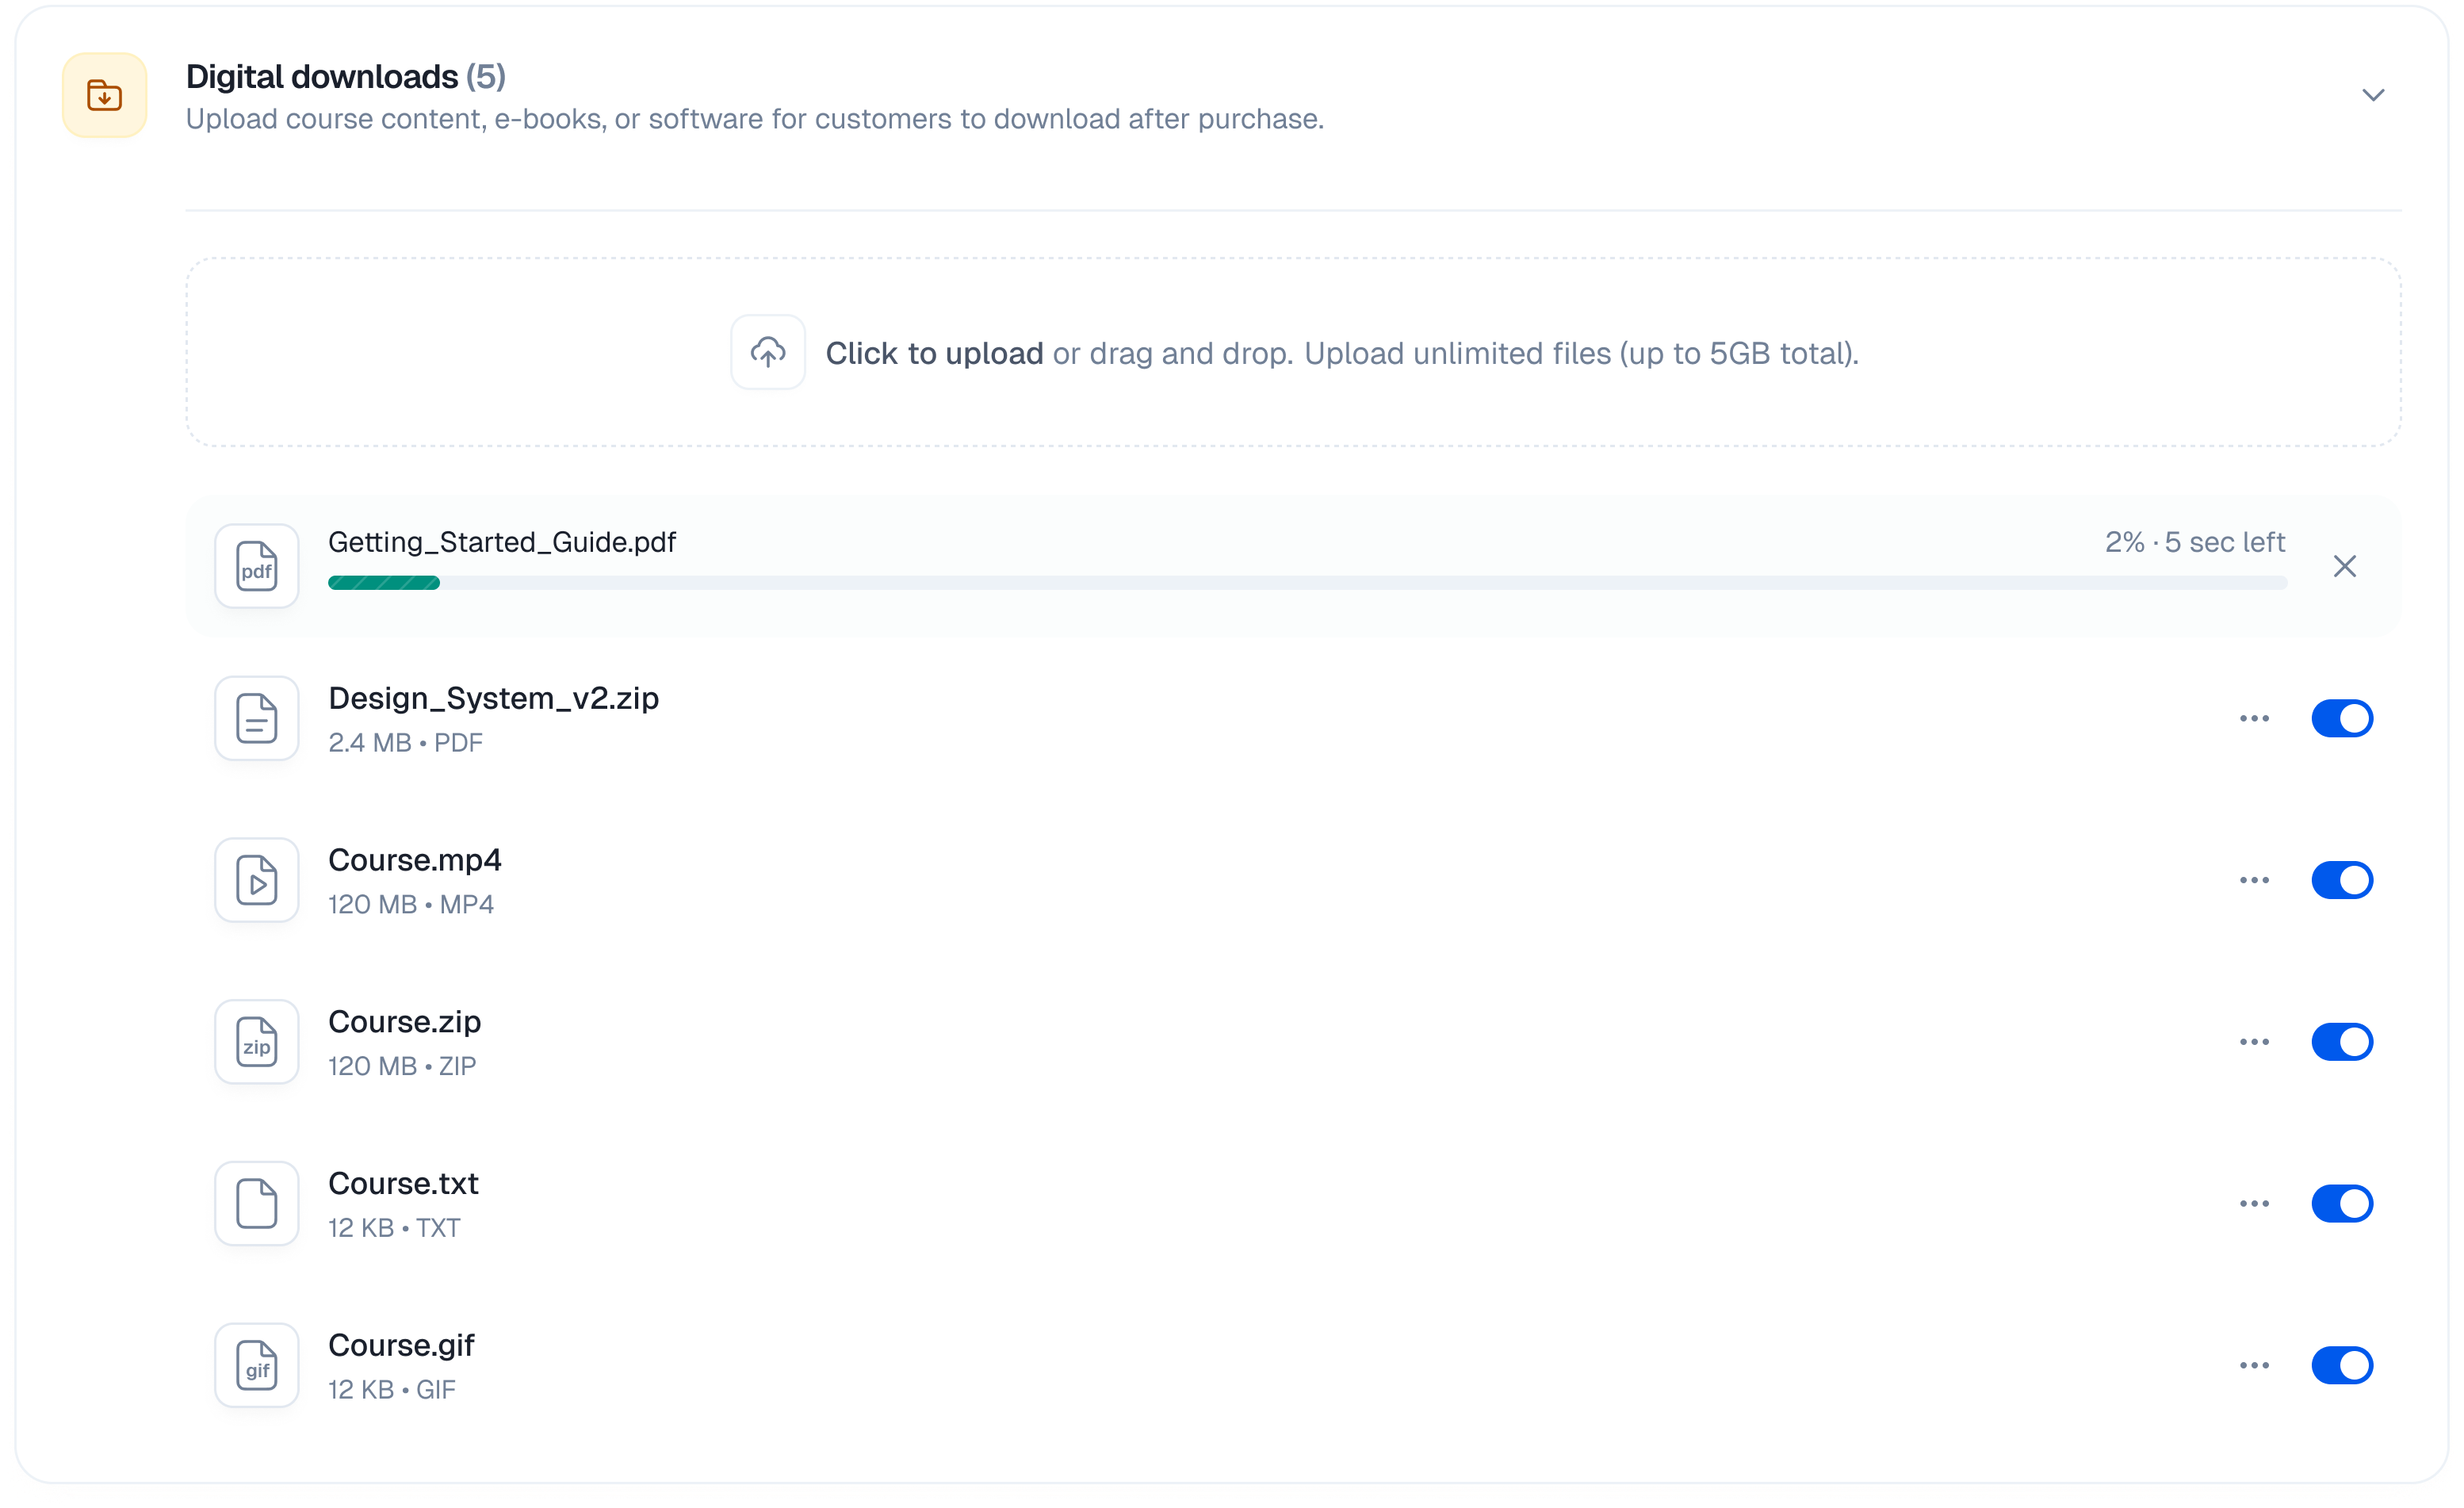
Managing Files
Each uploaded file has a toggle switch and a menu button (⋯) with additional options.Enable/Disable Files
You can temporarily hide files from customers without deleting them: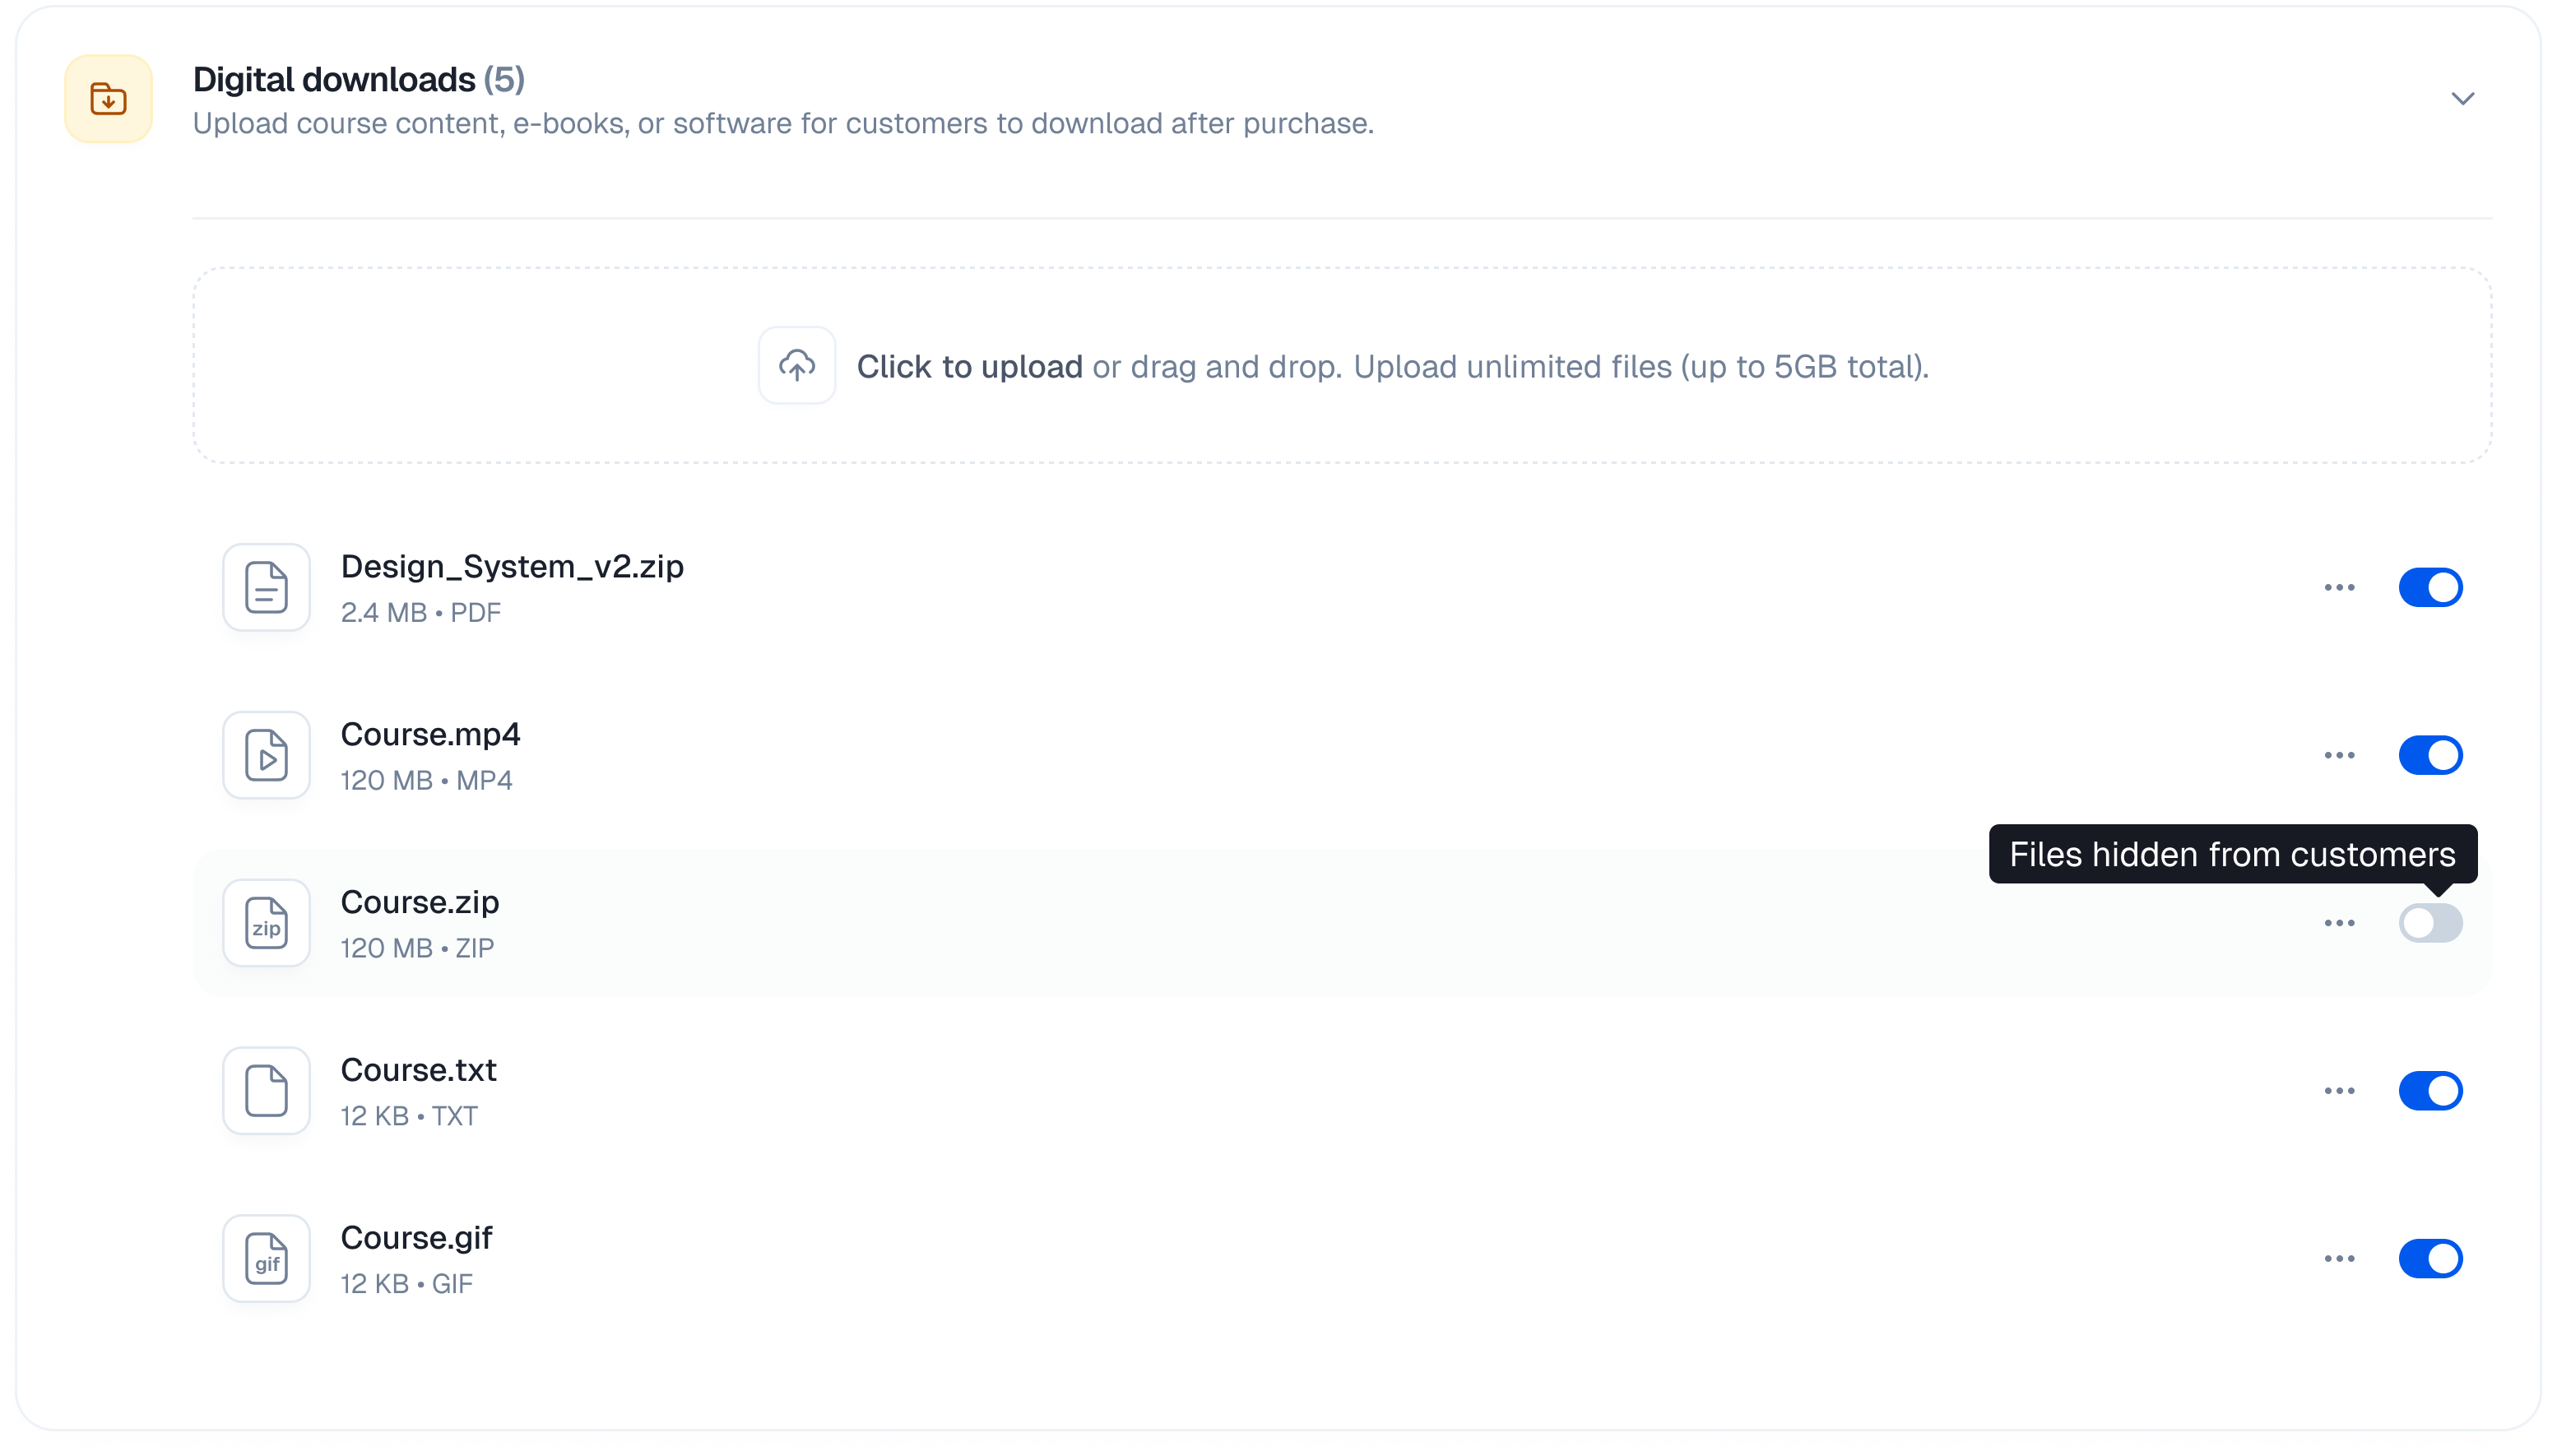
- Find the file in the uploads list
- Click the toggle switch next to the file
- Enabled (toggle on): Customers can download this file
- Disabled (toggle off): File is hidden from customers
File Actions Menu
Click the menu button (⋯) next to any file to access additional options: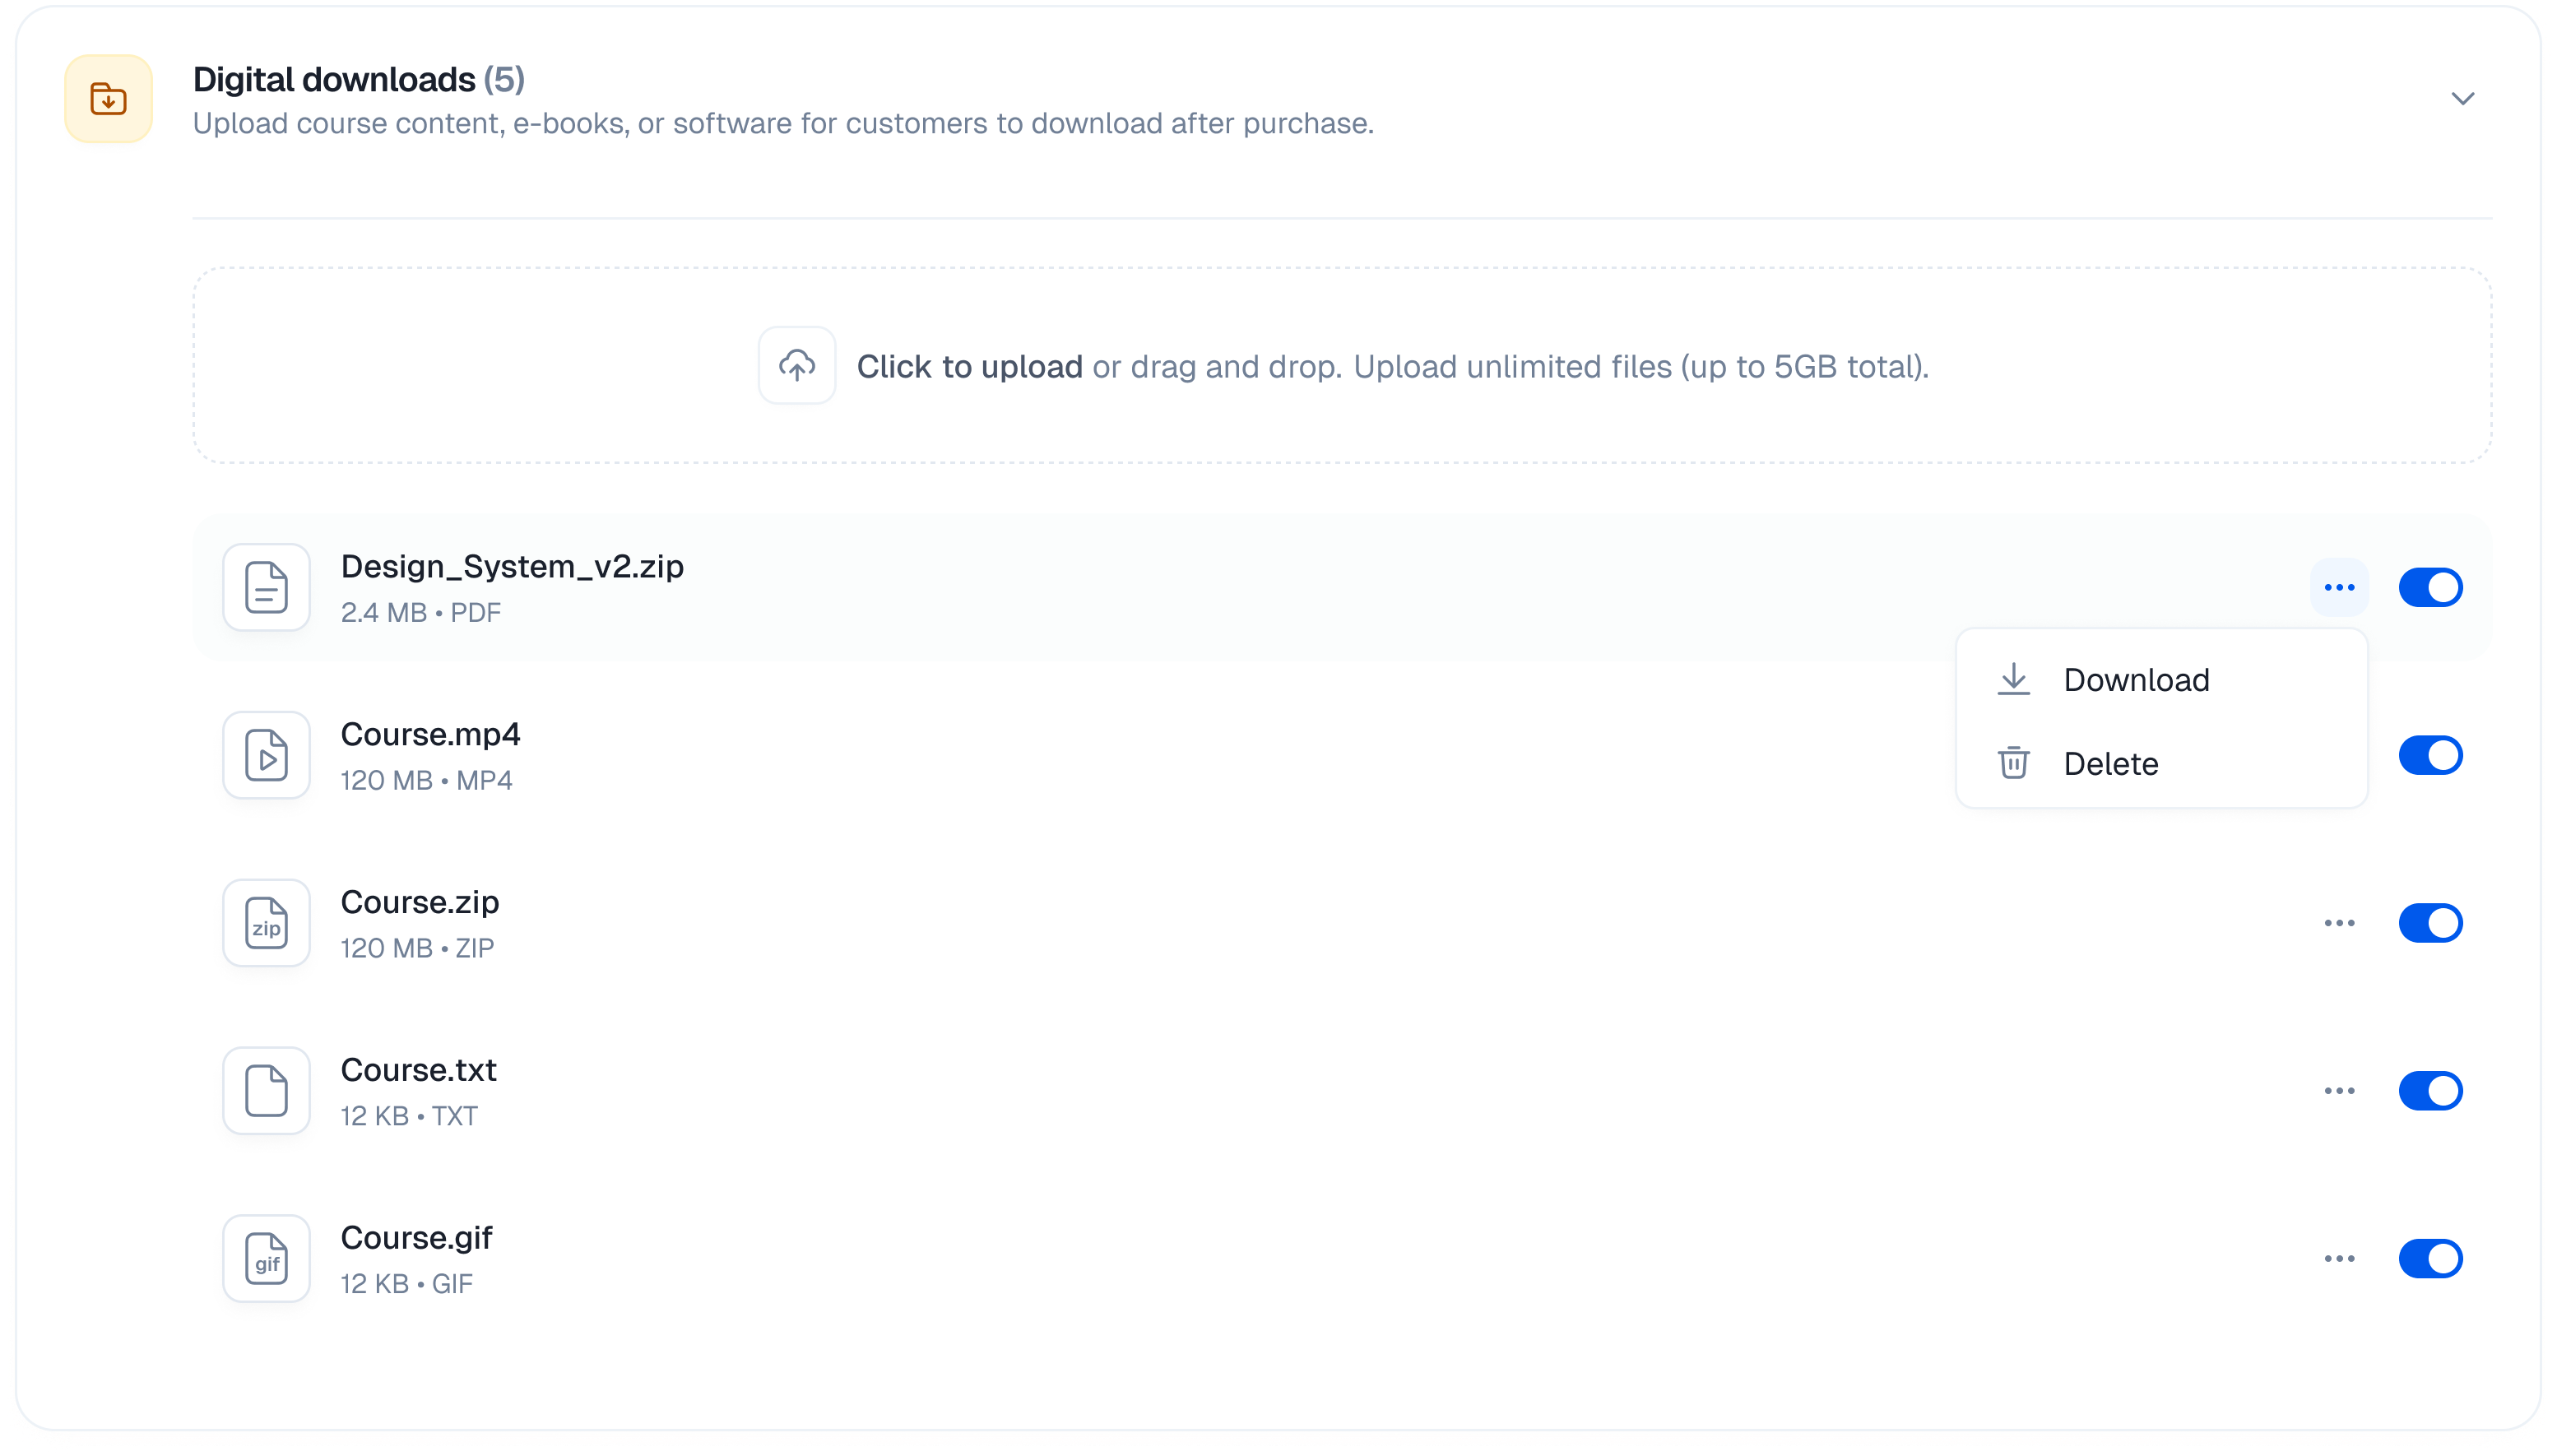
Download
Use the Download option to:- Verify that the file uploaded correctly
- Check file contents before enabling for customers
- Save a local backup of uploaded files
- Click the ⋯ menu button next to the file
- Select Download
- The file will download to your computer
Delete
To permanently remove a file:- Click the ⋯ menu button next to the file
- Select Delete
- The file will be permanently removed
Note: Deleted files cannot be recovered. Make sure you have a backup before deleting.
Customer Experience
After a successful purchase, customers can:- Access the order confirmation page
- View all downloadable files associated with their purchased plan
- Click to download each file directly