

Pay as you go plans bill monthly, so Monthly is the plan’s only billing period.
Before you start
You will need:- A product and a plan in Kelviq
- A Meter feature, such as
api-callsortokens - A monthly price on the plan
- A server API key for the same environment as the plan
Configure the plan
- Open the product and edit its plan.
- In the plan’s billing periods, keep Monthly enabled and turn off every other period.
- Open Usage charges and select the Meter feature you want to bill for. If the list is empty, create a Meter feature from Product catalog → Features first.
- For Billing model, choose Pay-as-you-go.
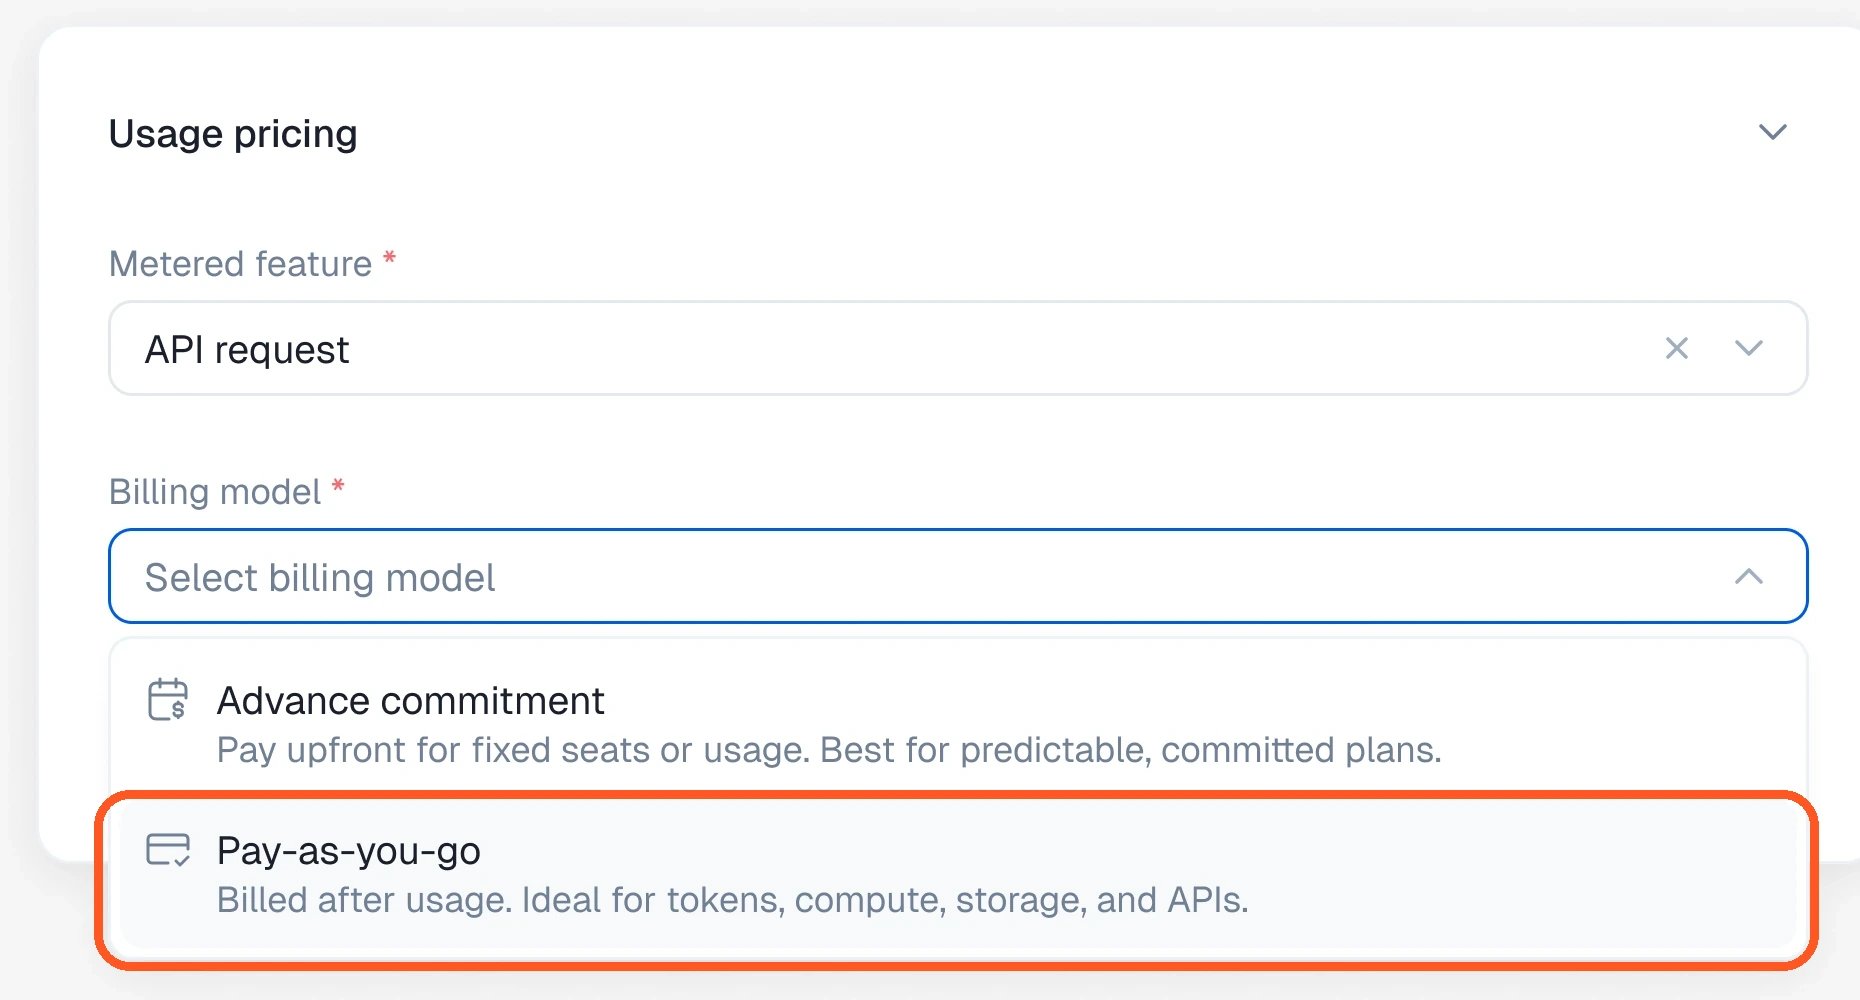
- Choose a pricing model and enter its rates.
- Add usage alerts if you want to notify your application when usage crosses a threshold.
- Save the plan. If you edited a published plan, publish the new version before testing it.
Choose a pricing model
The billing model controls when the customer pays. The pricing model controls how Kelviq calculates the charge.
See Usage-based pricing for the full calculation rules and examples for each model.
Combine a base price with usage
You can charge a fixed monthly subscription and add usage on top. For example:Report usage from your backend
Kelviq bills the usage your application reports. Send it from trusted server-side code after the billable action succeeds. Do not expose a server API key in browser or mobile code.Node.js
UseDELTA when each call adds to the current meter:
SET when you already maintain a cumulative total and want Kelviq’s meter to match it:
REST API
You can send the same update without an SDK:How billing works
- The customer starts a monthly subscription.
- Your backend reports usage throughout the period.
- Kelviq updates the meter whenever it receives a valid report.
- At the end of the subscription period, Kelviq applies the configured pricing rules to the final usage.
- The meter starts a new monthly period on the customer’s subscription renewal date.
Add alerts without stopping usage
Usage alerts are optional, but they are useful when a bill can grow during the month. You can set absolute thresholds for a pay-as-you-go feature, then handle thefeature.usage_alert webhook to send an email, show an in-app warning, or suggest a different plan.
You do not need a separate pay-as-you-go webhook to calculate the bill. Usage reports drive the meter; alerts only notify your application when a threshold is crossed.
See Usage alerts for configuration and webhook examples.
Test in sandbox
Sandbox and production have separate products, customers, subscriptions, and API keys. To test the complete flow:- Switch the dashboard to Sandbox.
- Create or publish a monthly plan with a pay-as-you-go charge.
- Complete a test checkout so the sandbox customer has an active subscription.
- Initialize the Node SDK with
environment: "sandbox", or send REST requests tohttps://sandboxapi.kelviq.com/api/v1. - Report a small usage value.
- Open the customer’s metered entitlement and confirm that the recorded usage changed as expected.
Troubleshooting
Pay as you go shows a billing-period error
Remove every billing period except Monthly. A plan with both Monthly and Yearly pricing is not eligible, even if you only enter a usage rate under Monthly.Stair-step cannot be selected
Stair-step pricing is not available with Pay as you go. Choose Flat, Package, Tiered, or Volume. If you need fixed usage bands, use an advance commitment instead.Reported usage does not appear
Check that the API key, customer, plan, and feature all belong to the same environment. Also confirm thatcustomerId and featureId exactly match the identifiers in Kelviq.
Usage is too high
Look for duplicateDELTA calls or a mismatch between the unit your code reports and the unit your price expects. For package pricing, remember that a partially used package is billed as a complete package.