Plan structure
Every plan consists of configurable components that define what the user gets.Pricing
Define the cost. Choose between recurring subscriptions (monthly/yearly) or one-time lifetime payments.
License keys
Issue software licenses. Generate unique keys upon purchase and enforce activation limits.
Entitlements
Set limits. Control access to specific features, API quotas, or seat limits via the SDK.
Downloads
Attach files. Upload software binaries, e-books, or course content.
Links
Grant access. Direct customers to private Discord servers or Notion templates.
Plan lifecycle
You manage plans through a simple status flow.- Draft The default state for new plans. These are not visible to customers.
- Published The plan is live and checkout is enabled.
- Unpublished changes A draft version of an existing published plan. You are editing a copy, so your live plan remains safe until you hit publish again.
- Archived The plan is hidden from new customers but remains active for existing subscribers.
Create a plan
You create plans directly inside a product container.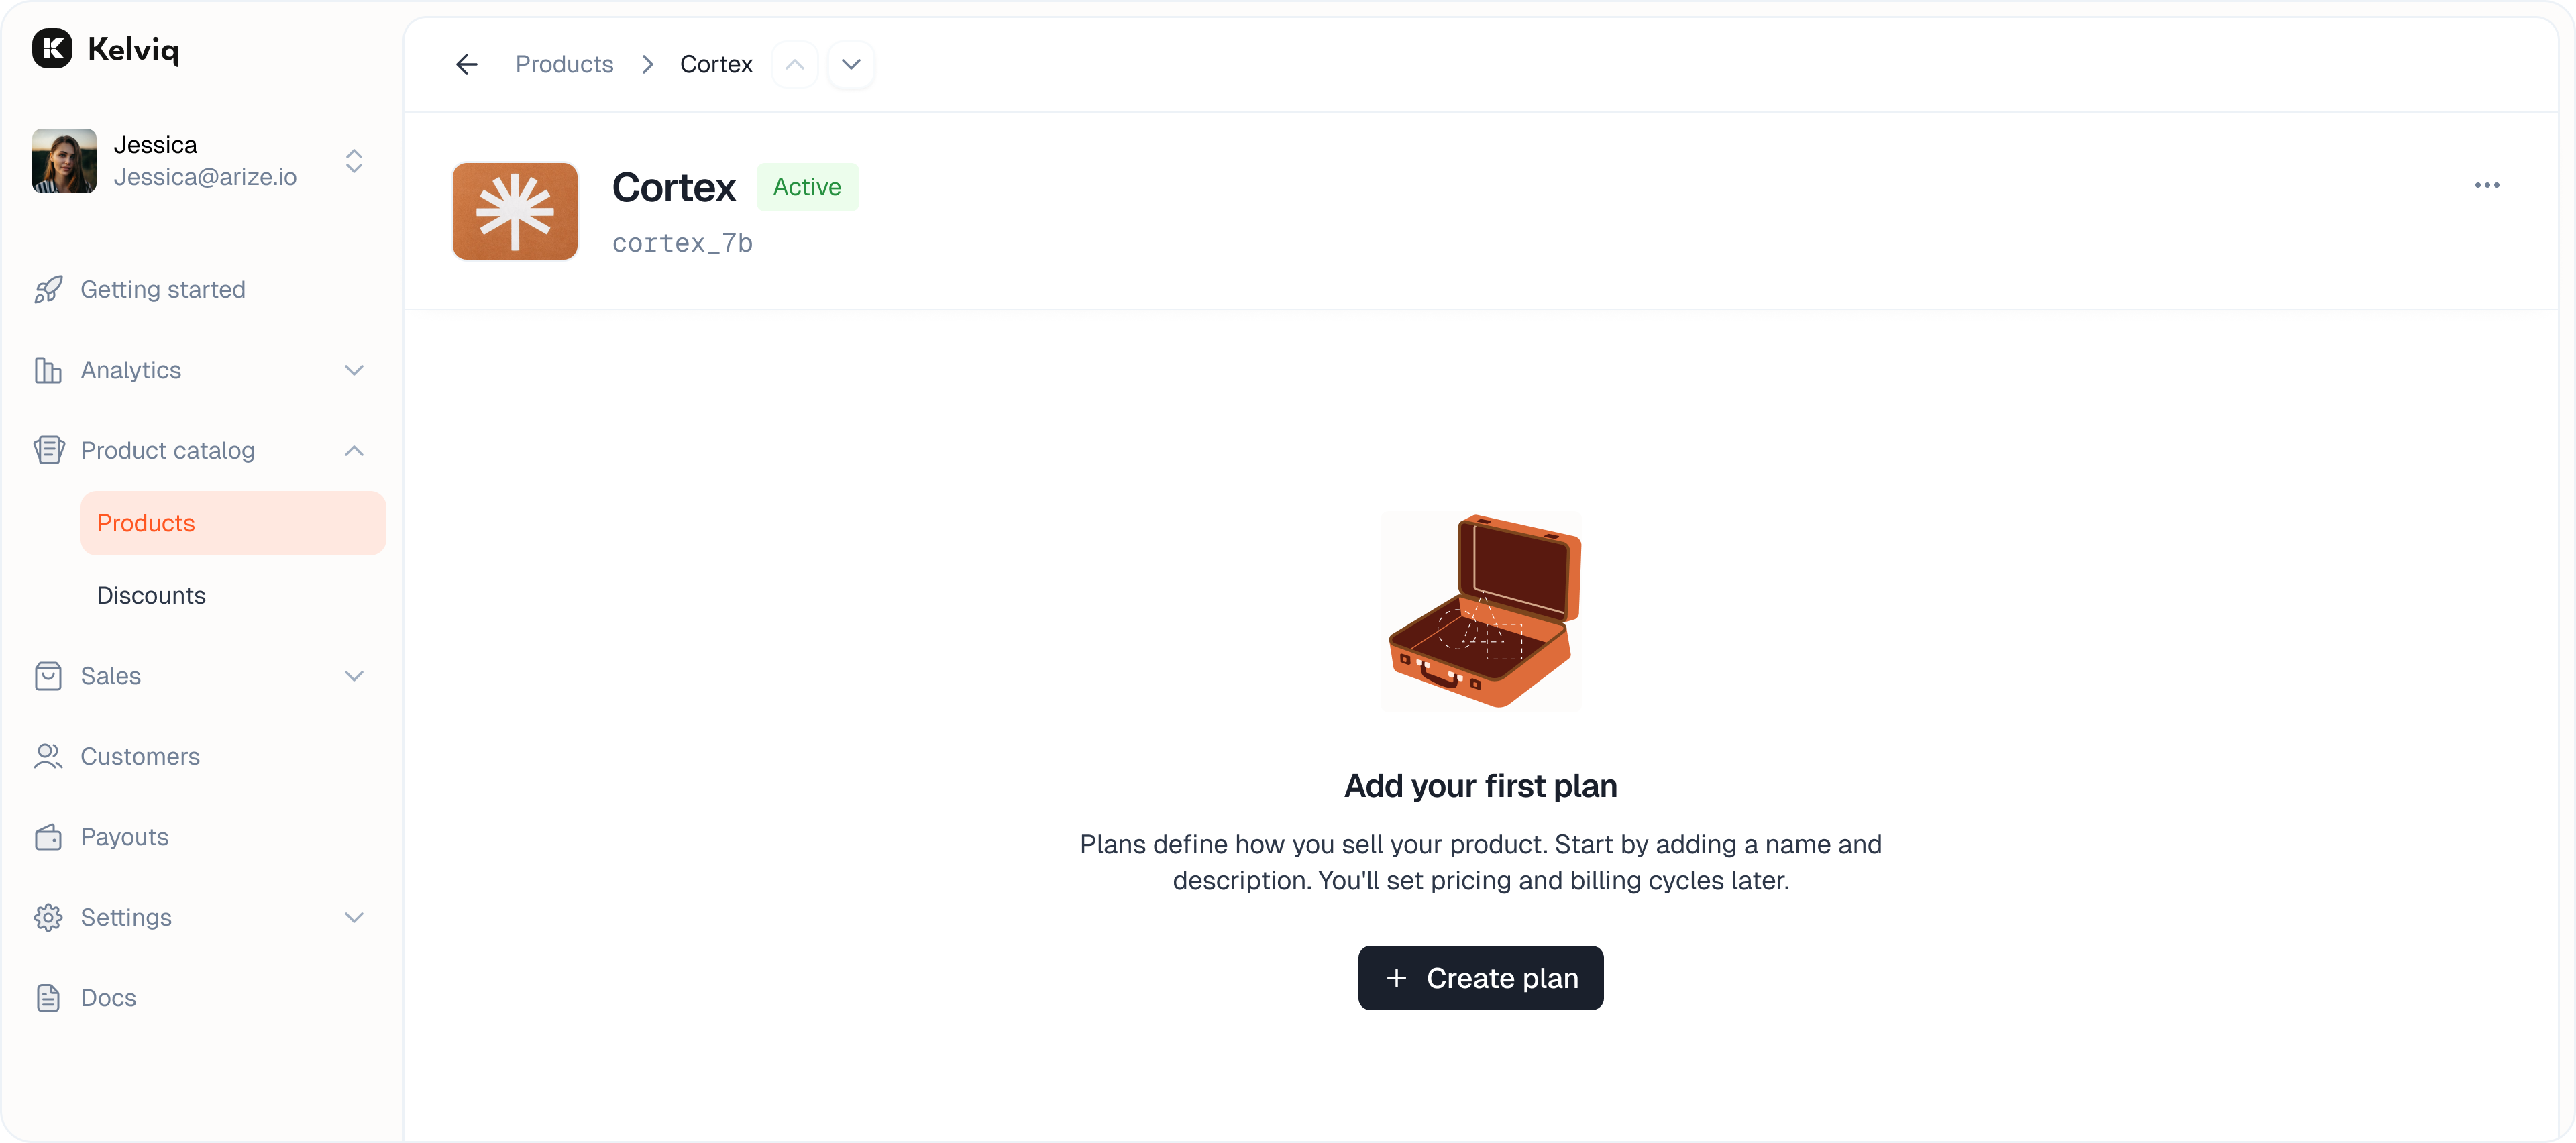
Define basics
Fill in the plan details.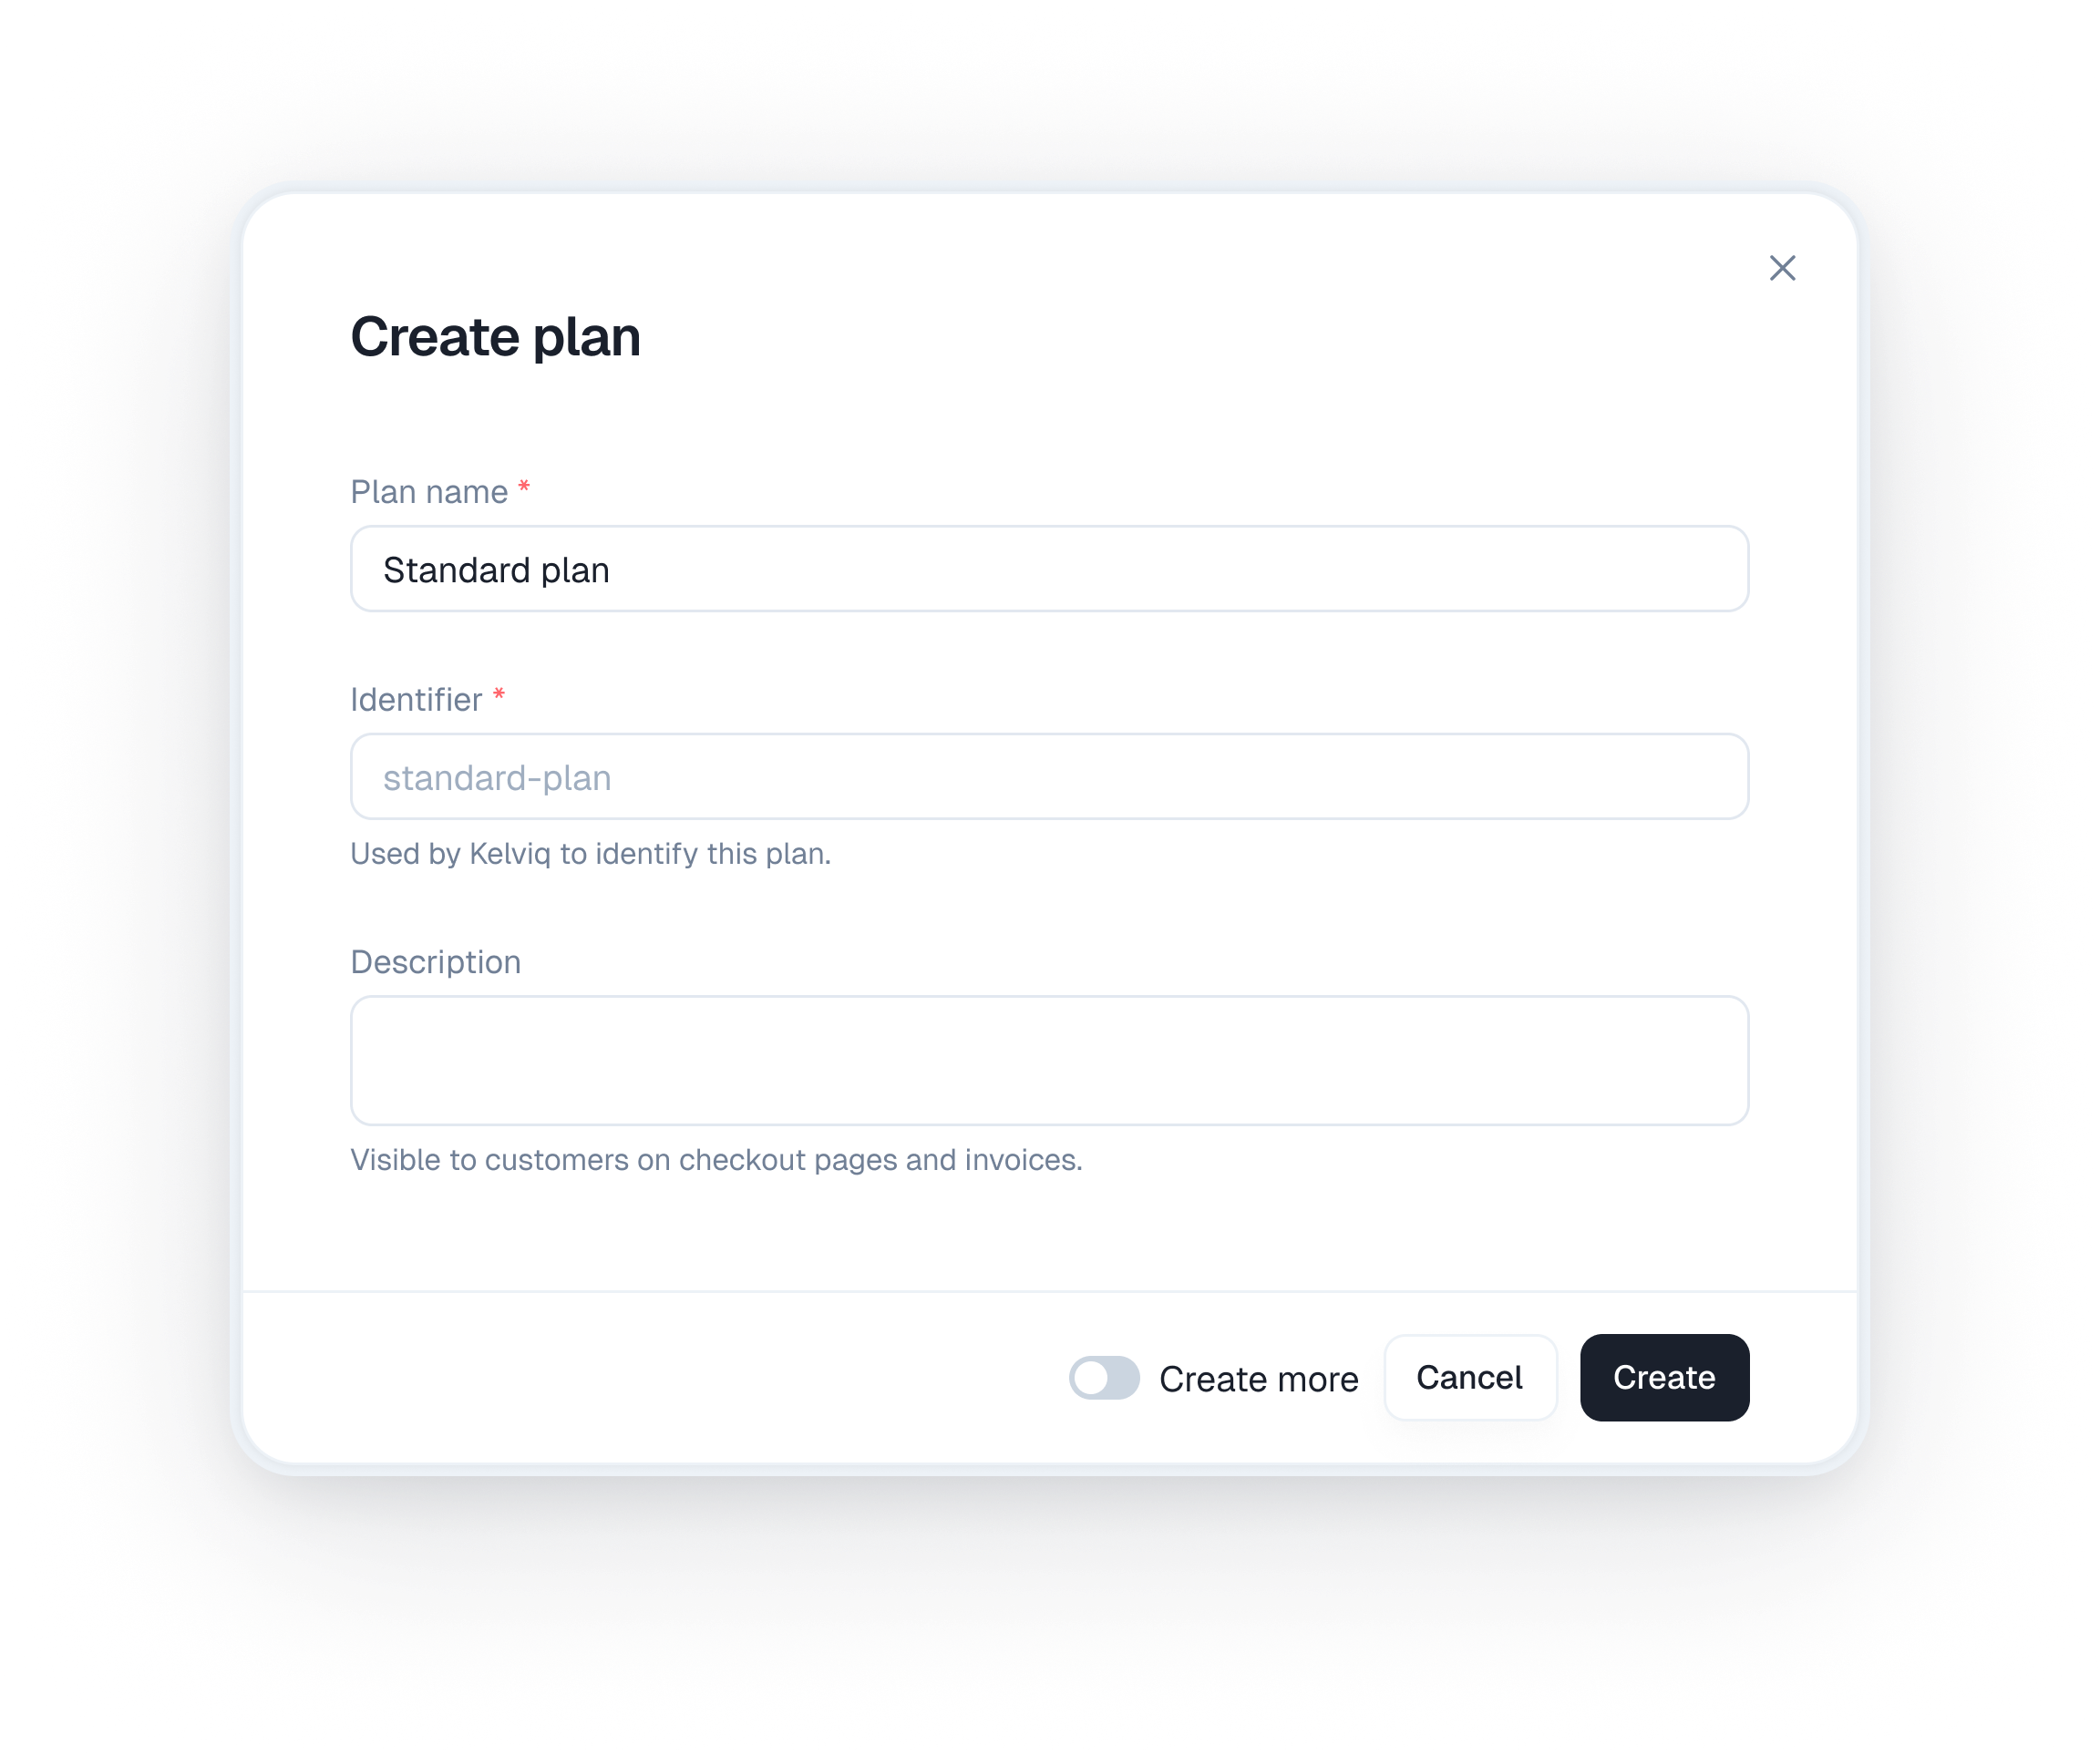
- Plan name: The public name (e.g. “Pro”, “Starter”).
- Identifier: The unique ID used in your code. You can override the auto-generated ID.
- Description: Optional text shown on invoices and checkout.
Configure pricing
Click on any draft plan to enter the configuration view. The first step is to set how you charge.Pricing models
Once your plan draft exists you can configure how you charge. We split these into dedicated guides.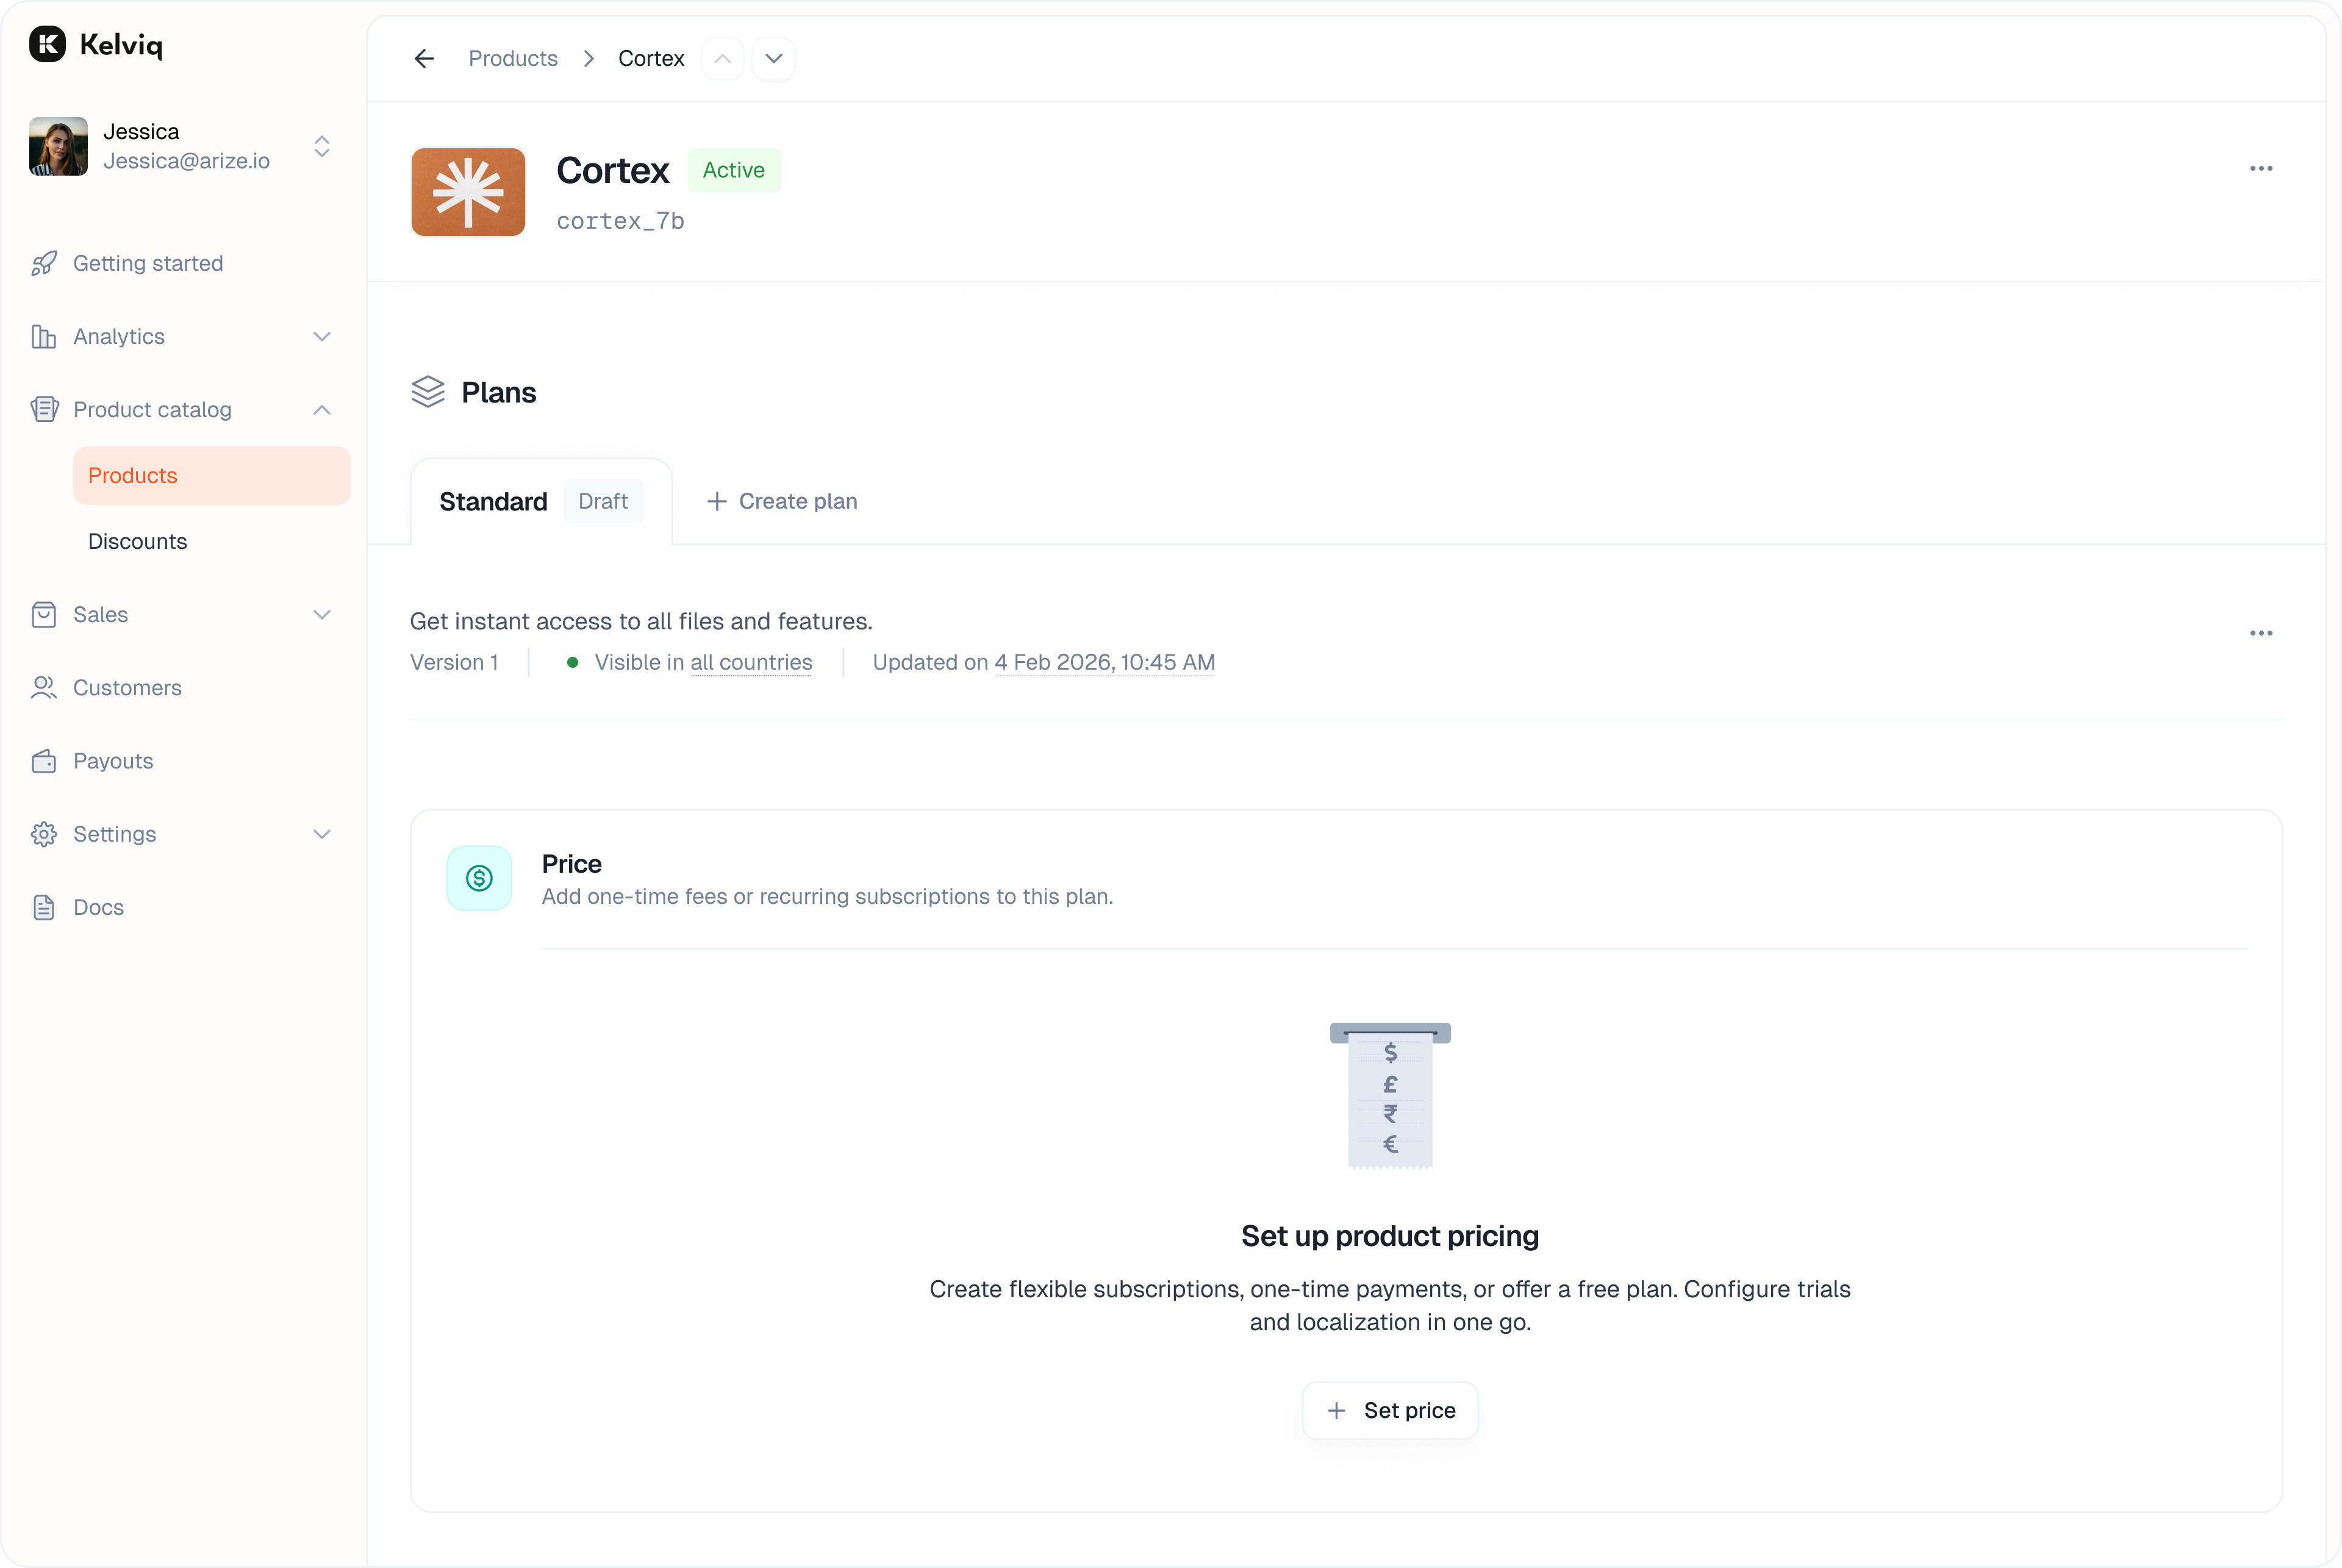
Free vs. Paid
Use the toggle in the top right to switch between a free or paid plan.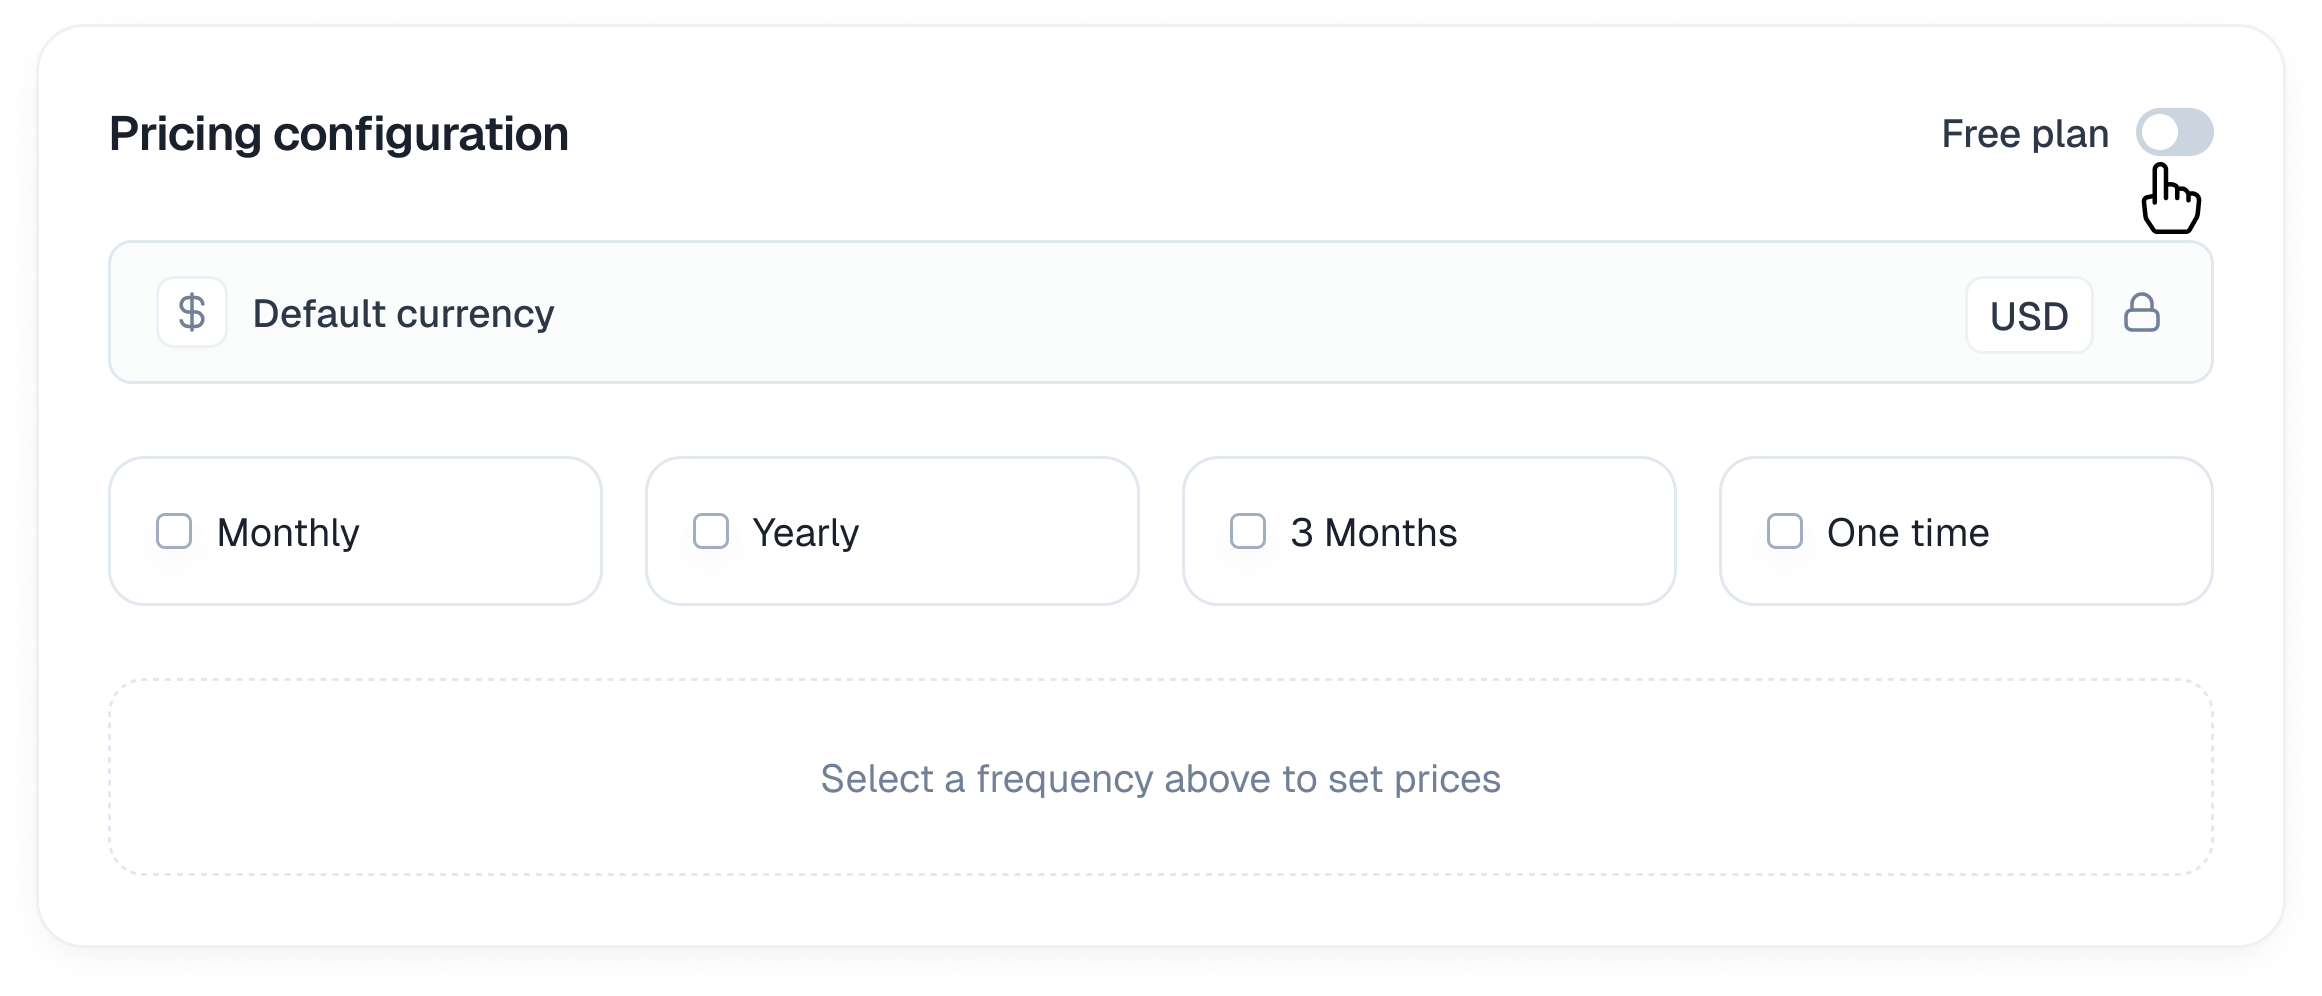
- Free plan: Users are not charged. Useful for lead magnets or open-source tiers.
- Paid plan: Unlocks the billing configuration options below.
Billing cycles
Select the intervals you want to offer. You can enable multiple intervals for a single plan.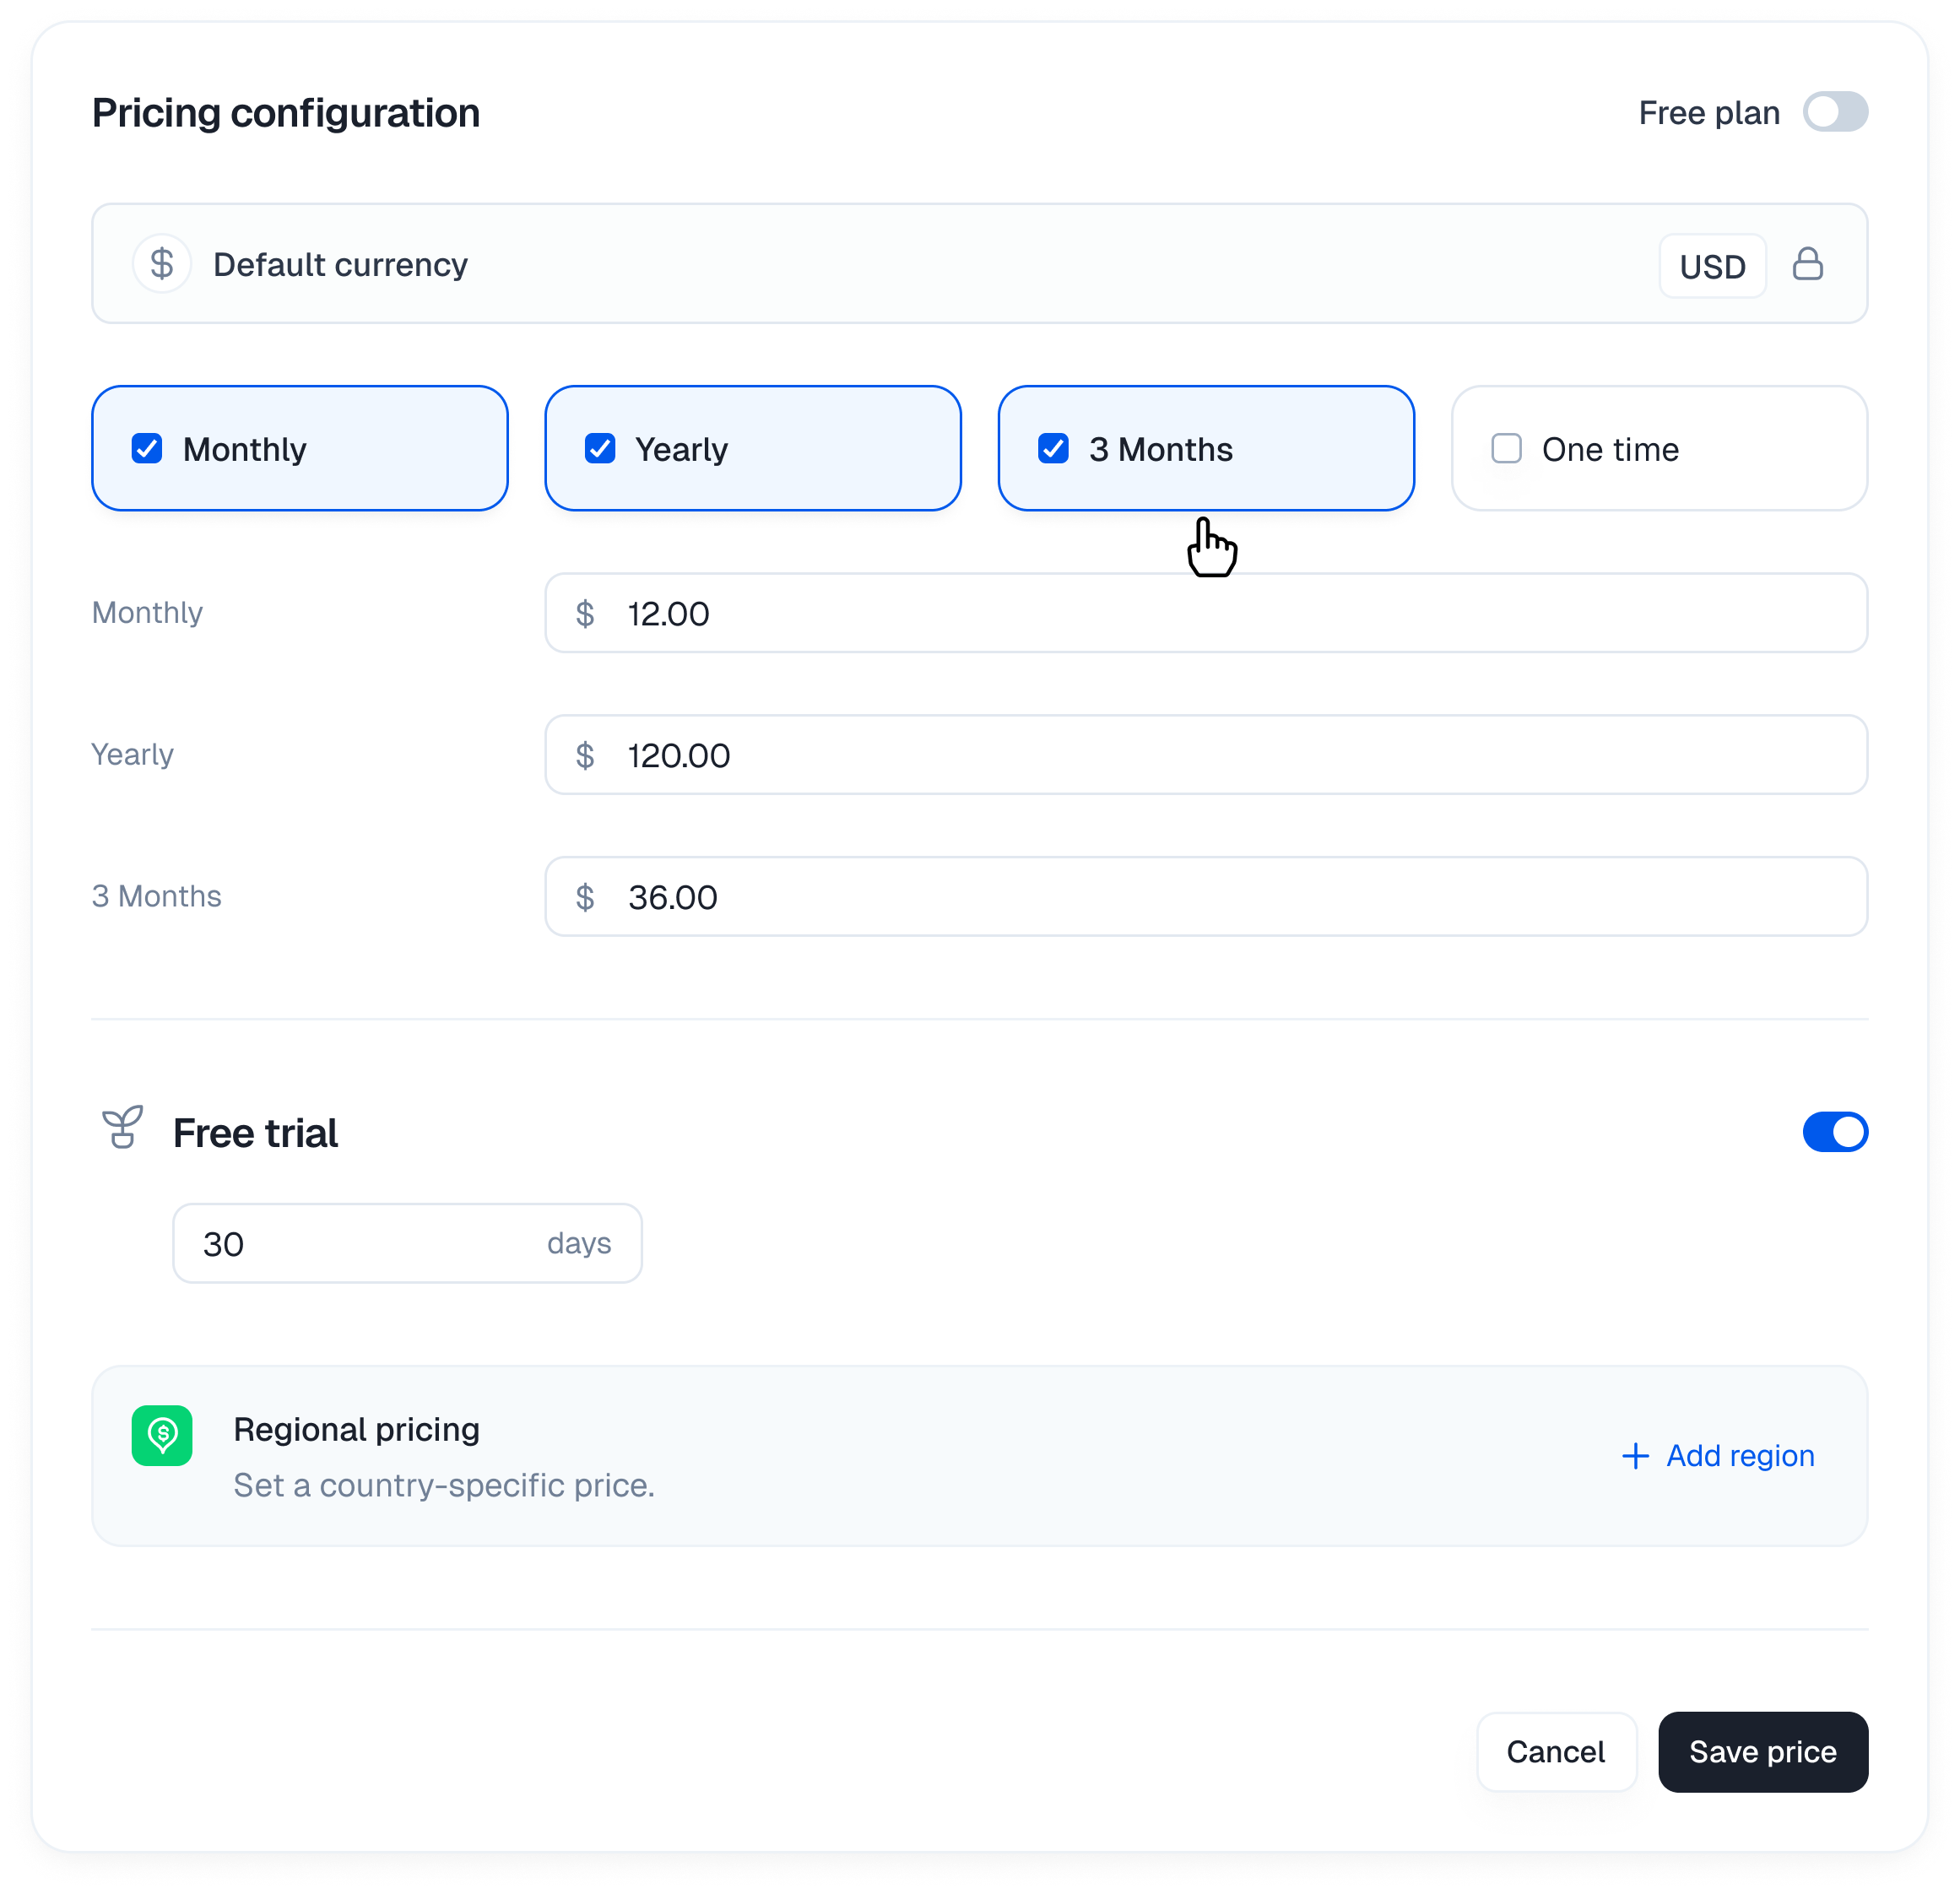
- Monthly / Yearly: Standard recurring subscriptions.
- 3 Months: Quarterly billing.
- One time: A single non-recurring payment (lifetime deal).
Location based pricing
You can set specific prices for different countries rather than relying on auto-conversion.- Click + Add localized price.
- Select the currency (e.g. EUR, INR).
- Enter the price for that market.
Add deliverables
Configure what the customer receives immediately after purchase. These assets are delivered directly via the customer portal or email.Digital downloads
Upload files that are securely delivered after purchase.- Expand the Digital downloads accordion.
- Drag and drop your files (up to 5GB total).
- Customers will see these in their portal immediately after checkout.
License keys
If you are selling software that requires activation, you can issue unique license keys.- Expand the License keys accordion.
- Activation limit: Set how many machines or instances can use a single key (e.g. 1 for personal, 5 for team).
- License duration: Define how long the key remains valid (e.g. 1 Year).
External links
Provide access to resources hosted elsewhere.- Expand the Links accordion.
- Add the Link name (e.g. Private Discord community).
- Add the Link URL.
Feature & limits
Configure feature access, usage quotas, and API limits.- Toggle features: Turn specific capabilities on or off (e.g. “SSO Access”).
- Numeric limits: Set quotas (e.g. “5 Projects”, “10,000 API calls”).
Publishing & Versioning
We protect your live customers by creating a separate version when you edit a plan.How it works
- Safe editing When you edit a Published plan, we automatically create a new Unpublished version. Your live plan remains untouched so customers can keep buying without interruption.
- Unpublished changes You will see a yellow badge indicating you are working on a draft version. You can make as many changes as you want here without affecting the live site.
- Publishing When you click Publish, this new version replaces the old one.
Pushing updates
Because the new version replaces the old one, you need to decide what happens to your current subscribers. When you click Publish, we will ask you to confirm the rollout strategy.- For price changes: You decide whether to grandfather existing users on the old price or migrate them to the new one.
- For feature changes: You decide whether to push the new entitlements to existing users immediately or keep them on their legacy configuration.
Plan actions
Click the ⋯ menu next to the Publish updates button to access additional options.| Action | Description |
|---|---|
| Edit | Open the plan configuration to make changes |
| Get Link | Copy the direct checkout link for this plan |
| Restrict by country | Limit which countries can purchase this plan |
| Archive | Hide the plan from new customers while keeping it active for existing subscribers |
| Restore last published version | Discard unpublished changes and revert to the live version |
| See last published version | Preview what customers currently see on the live plan |