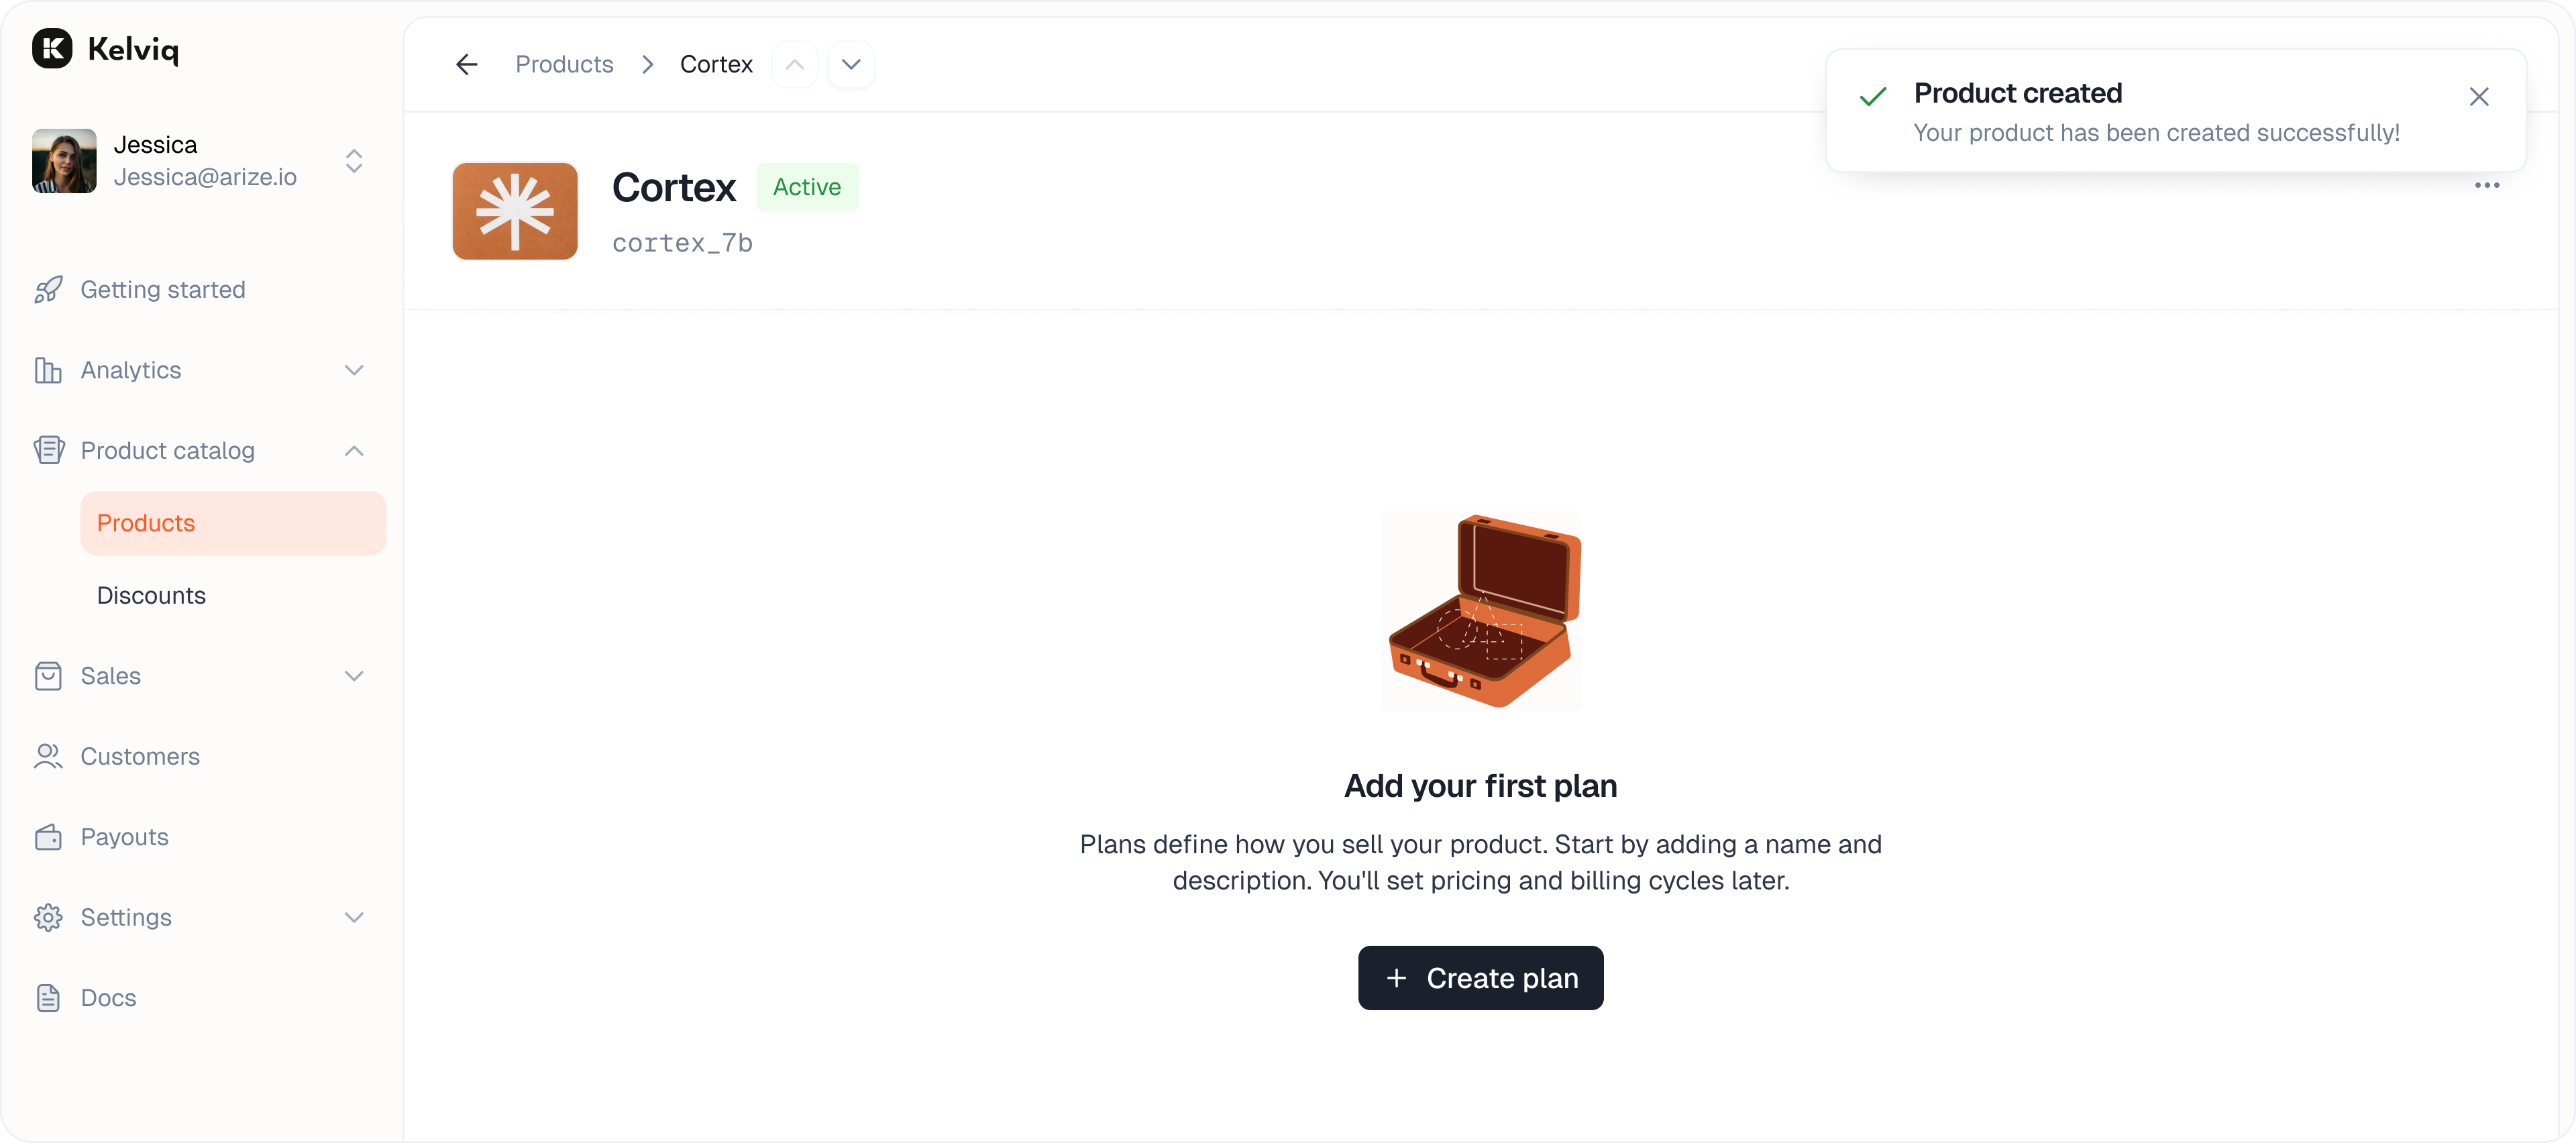
Create a product
Follow these steps to set up a new product.1
Go to Products
Navigate to Product Catalog > Products in the sidebar.
2
Start creation
Click + Create product in the top right corner.
3
Enter details
Fill out the basic information for your product.
- Product name — The public name shown to customers, such as “Pro Templates”.
- Description — A short summary of the offering.
- Media — Upload up to 10 images to showcase the product on checkout. We recommend a 4:3 aspect ratio (1600 × 1200 px).
4
Finish
Click Create. You will be redirected to the product details page.